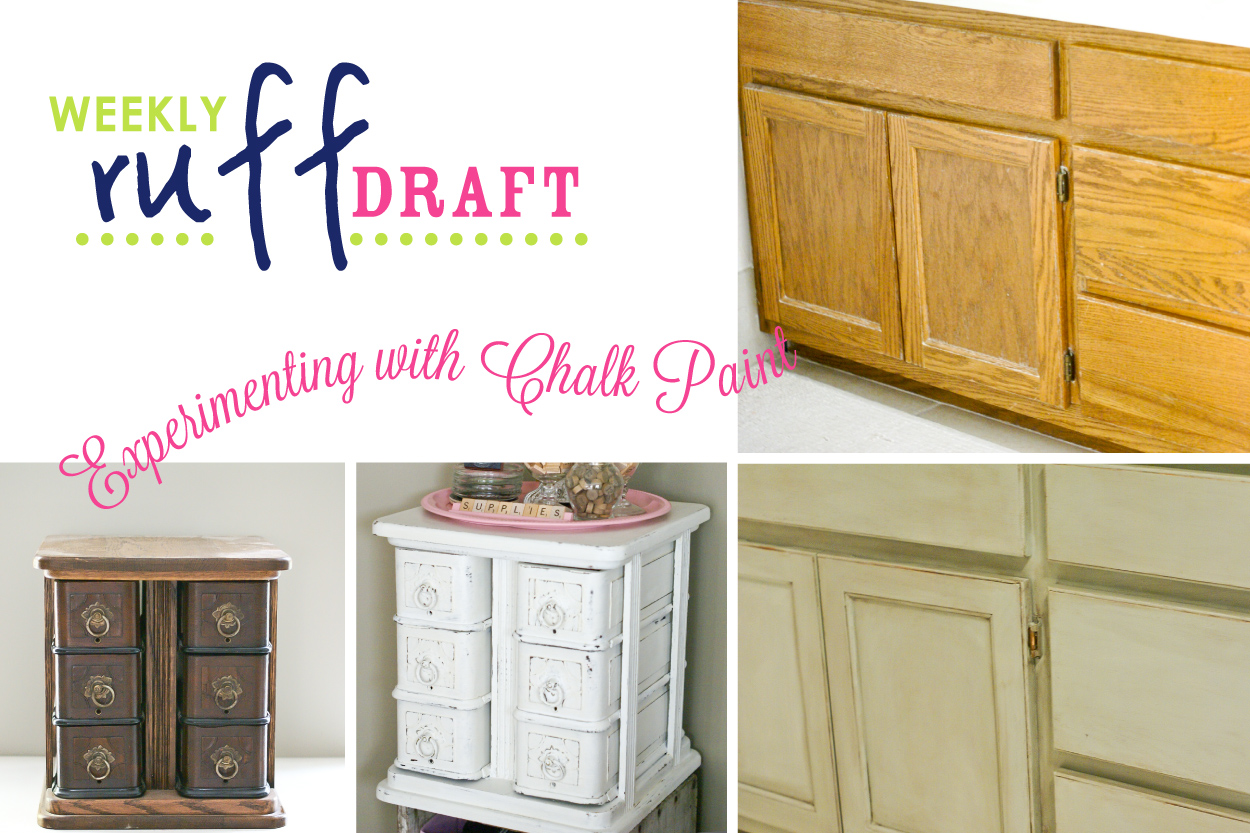
I’m assuming everyone is familiar with chalk paint by now… but if you are not, I’m going to show you some different techniques I’ve tried using various chalk paints. I wanted to test the DIY chalk paints along with Annie Sloan chalk paint.
The goal of chalk paint is to spend less time creating rustic/aged painted furniture. (eliminating sanding & priming before painting).
I wanted to see what all the fuss was about, so I tried two different projects using two different chalk paints.
1. I made chalk paint with: 2 cups of latex paint, 4 tbs of plaster of paris, 2 tbls of water
2. I used Annie’s Chalk Paint as is
————————————-
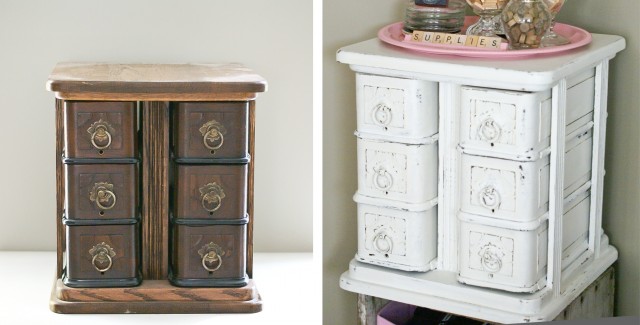
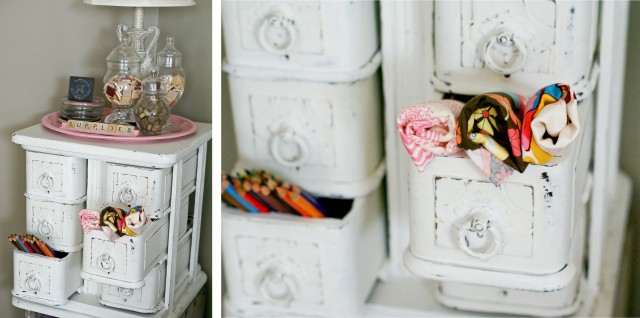
DIY CHALK PAINT Before After
Directions:
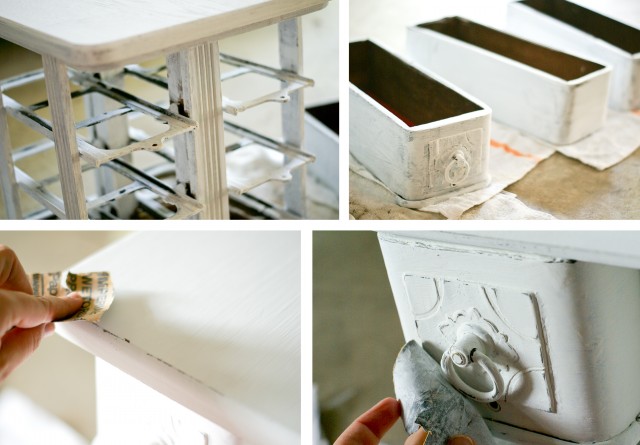
1. In a separate container, mix 4 tbls of plaster of paris until smooth. Add it to 2 cups of paint – in another paint container (blend until thick).
2. Next paint first coat on wood.
3. Sand slightly between coats, when dry to smooth out the bumps from the paint.
4. Paint second coat. Let dry. (paint as many coats as needed for solid coverage)
5. Using light grit sand paper, remove paint along edges to give a worn look.
6. Using a wax (I used Johnson’s paste wax) buff wax to seal in paint.
I thought the orginal wood was nice, but I wanted to lighten the piece… it was time for a face-lift!
One thing I have noticed with the DIY chalk paint, is that the paint does scratch off… not easily, but you can scratch it. I would not recommend doing this on a piece that you don’t want it to weather with time.
——————————————————————-
ANNIE SLOAN CHALK PAINT Before
Directions:
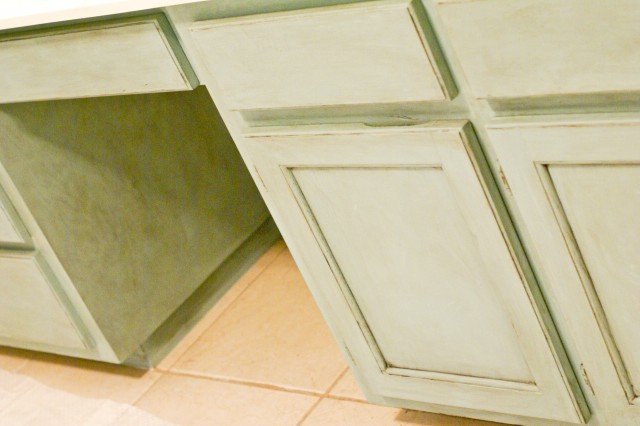
1. Paint cabinets with a good paint brush. Follow the grain of wood, while painting. (for durability paint two coats) – however, I was lazy and used one coat b/c it truly covers in one coat (I was impressed by this) – I also did not even remove the cabinet doors… I opened them, and painted without taking them apart. I painted over the hardware and later scratched it off some.
2. To get an aged look without chipping the paint, I decided to try some stain on it. (Annie recommends her dark and light waxes to achieve this look, but I had stain in the house so I used that instead)
3. To use the stain, first paint the edges with the stain (I used a toothbrush).
4. Next, dip a cloth in clear wax
5. Buff out the stain with the clear wax to get the stain amount you want left on the piece. – It takes quite a bit of buffing, and I did rub the stain all over the cabinets so it seeps into the wood grain slightly. I left the edges of the cabinets darker, and scratched them with some sandpaper to expose a little of the original brown woodwork as well.
First Coat
I just loved how these turned out. The only negative with using the stain instead of Annie’s dark wax & light wax, is that you can still scratch off the paint if you try really hard… I don’t mind because I like this aged look… however, if I wanted to paint cabinets in a frequently used area, such as the kitchen – I think I will use Annie’s waxes as sealants.
Summary of my findings:
1. DIY chalk paint is good, and inexpensive, but takes more coats of paint – and sanding in between coats
2. Annie Sloan chalk paint is better, smoother, and a little goes a long way (which doesn’t make the price as bad)
3. Paint does scratch off with both options… BUT I’m not ruling out Annie Sloan paint, until I have tested it with her waxes. (This will be another Ruff Draft down the road)!
————————————————-
Have you tried chalk paint? Any tips you want to share with us? Would love to hear feedback!!!




I bought this same item new about 4 1/2 years ago to paint a fence that goes all arnuod my property (because if I had to roll or brush the paint, I’d still be doing it). It worked great, and since then I’ve used it to paint the exterior of a 1,200 square foot rental house, a 720-square foot storage shed, countless shutters for my house, louvered interior doors, wood furniture the list goes on. At least three of my friends have borrowed it for their home projects, and they also were pleased with the job and ease of use. It starts to spit little paint blobs when the canister is getting empty, but I just keep a paintbrush handy to brush those out and keep on spraying. I think it is definitely a great value for the money, lends itself to all kinds of home projects, crafts, and tasks, and I will buy another one in a heartbeat when mine dies. If you take the time to clean it thoroughly after each use, lubricate the piston & spring regularly, and thin out your paint (I generally mix 15 20% water to make latex paint thinner so it sprays more effectively), I think you will also achieve great results and enjoy this product for a long time. Though nobody enjoys painting these Power Sprayers definitely make it easier and it takes a lot less time!
just beautiful, adria, thanks for sharing your technique. amazing the differences!