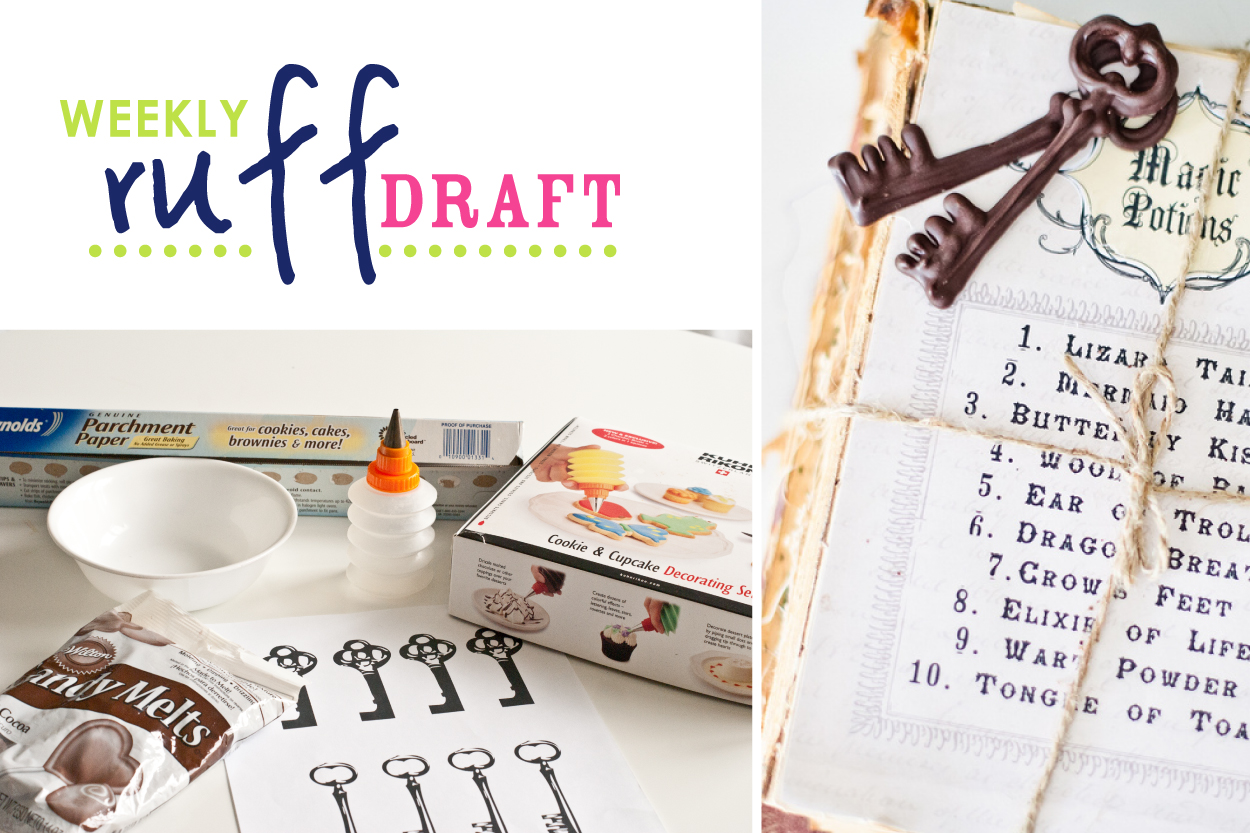
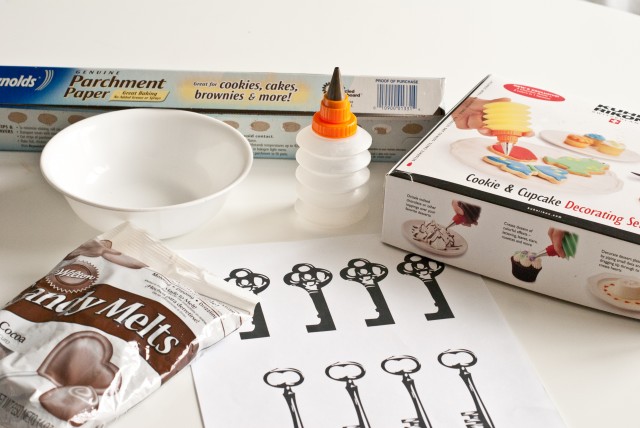
1. First, pour your chocolates into a microwave bowl.
2. Melt chocolate in microwave (per instructions on packages) – do not overcook
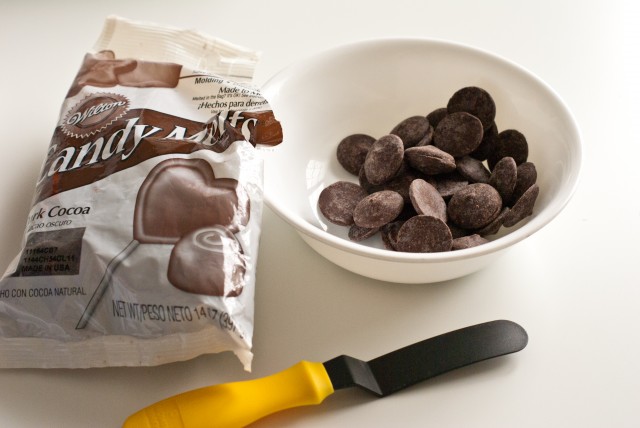
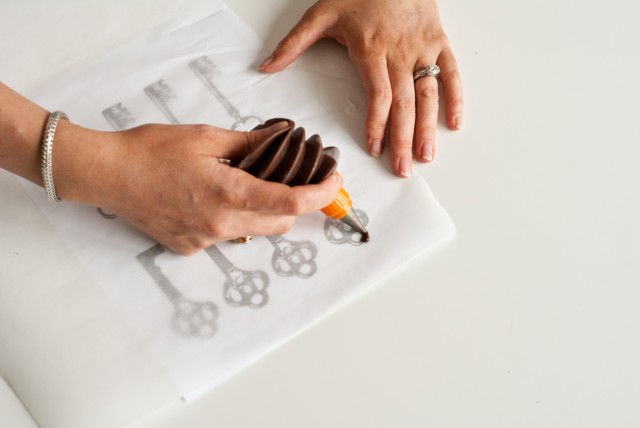
3. Once chocolate is melted, fill piping container
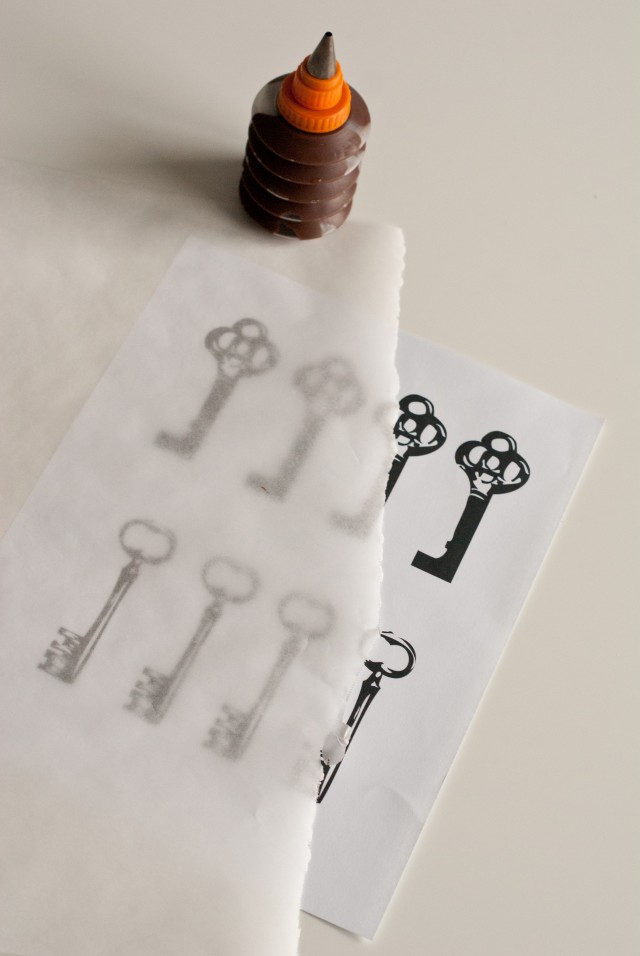
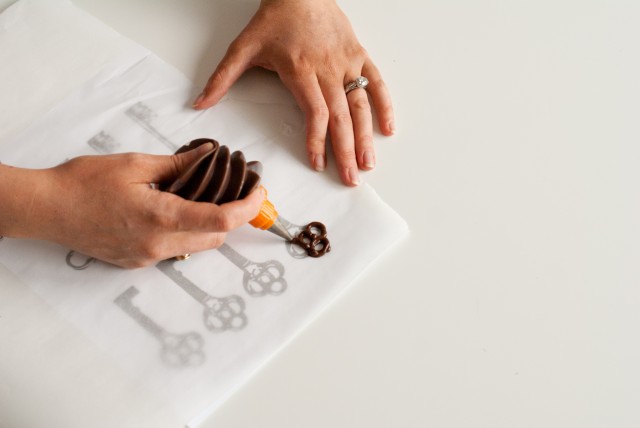
4. Line your parchment or wax paper on top of printed key template
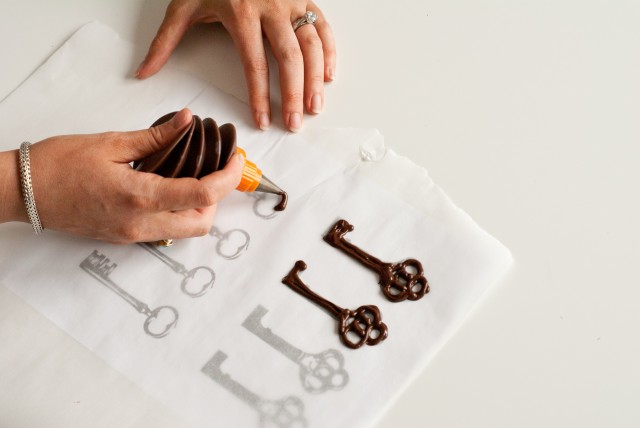
6. You may want to go back in and refill the shape to ensure thickness in chocolate piping. (if chocolate piping is too thin, they will crack and break)
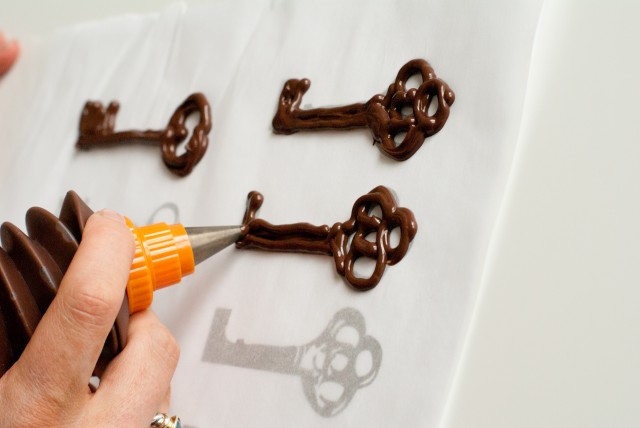
7. Let chocolate harden
8. Peel off of wax paper, parchment sheet
(try not to handle too much…. chocolate melts easily)
Use these chocolate keys for cupcake toppers, displaying on books, hang with twine… packaged treats….
If you want an even easier way to make chocolate keys, go to Mold Shop and purchase a skeleton key mold.
*Note please be sure to contact seller, to ensure correct size.
If you found this Weekly Ruff Draft useful, please leave us a contact or share with your friends!
Haunted Halloween printable collection is still on sale – get it now!
p.s. We have been working at the amazing Operation Shower event in Atlanta since very early this morning… if I am forgetting a step in my instructions, please know it is due to sleep deprivation and too much wine 🙂


cute cute!! so creative 🙂
Love the idea! Very creative!
VERY CUTE!!!