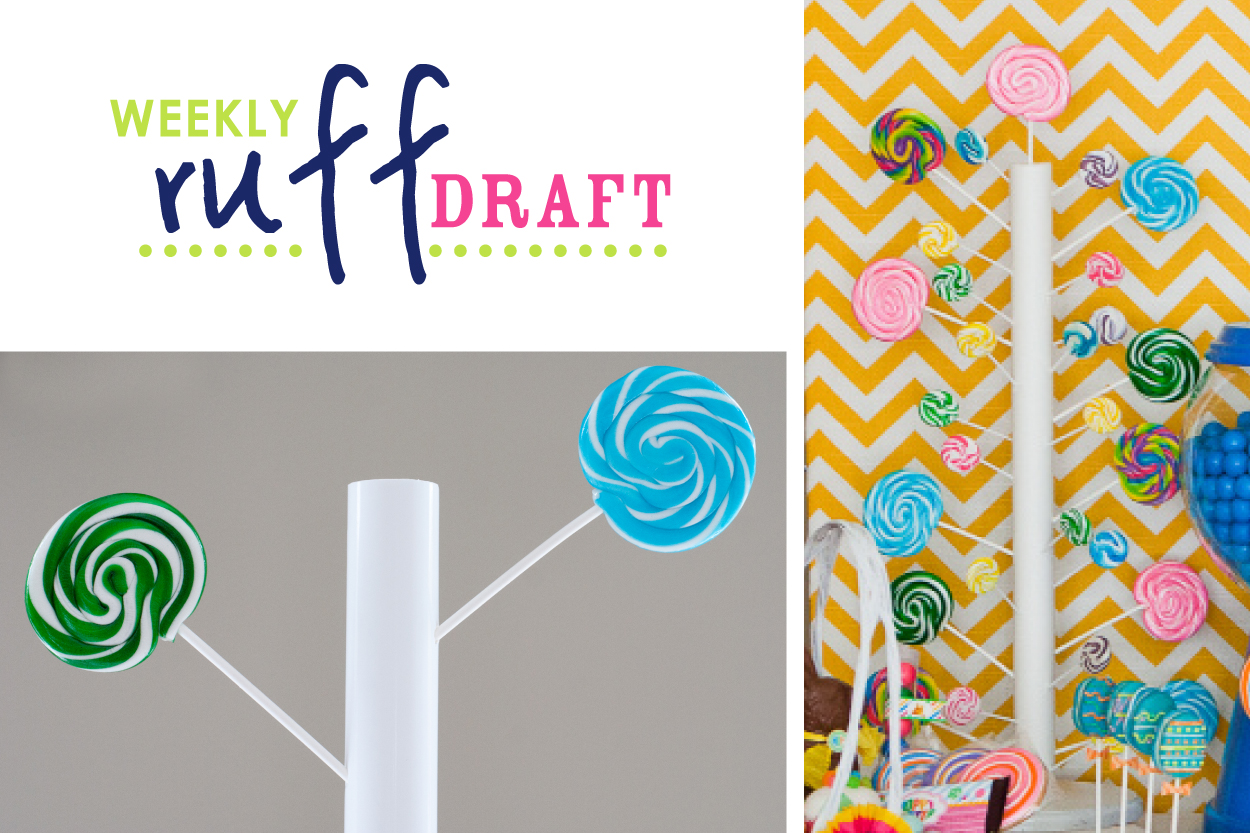
Lollipop, Lollipop… Oh Lolli, Lolli, Lolli….
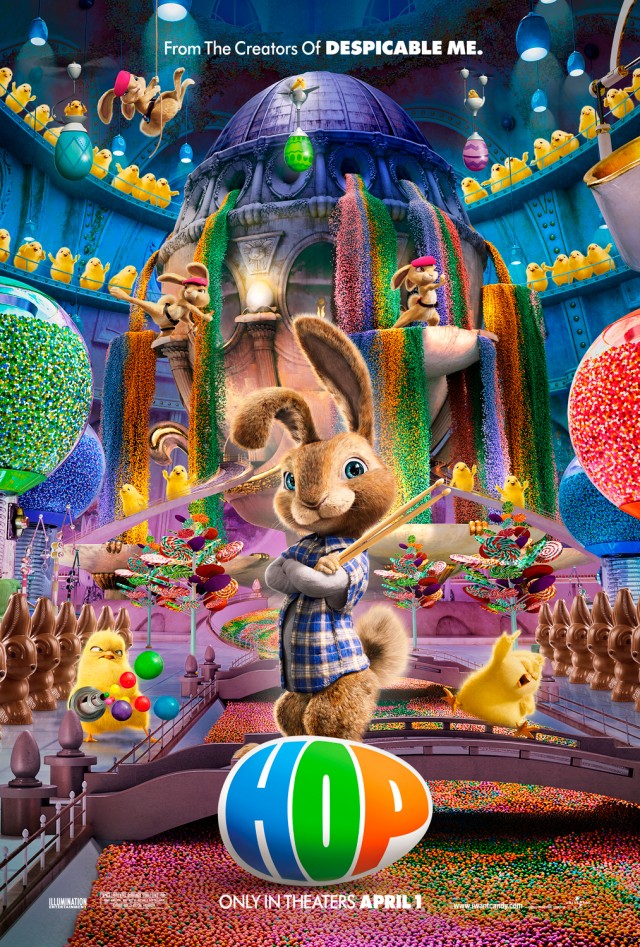
If you haven’t heard yet, Universal Studios hired us to design and style/produce a “HOP” themed Easter party for the release of the movie at Target! All of the DVD and Blu-Ray discs at Target will have an insert inside with instructions on how you can download your FREE Anders Ruff printable Hoppy Easter party decor set! (For a LIMITED time so be sure to get to your local Target on 3.23.12!)
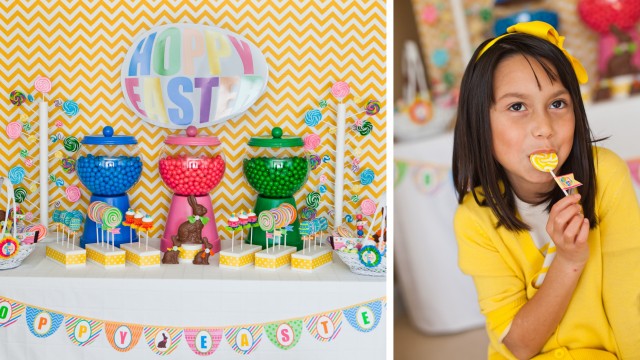
When we started brainstorming about how we would simulate the candy factory scene from Universal’s HOP, we knew right away we wanted to design lollipop trees (look closely at photo below, and you will spot them!)
With that said, we wanted to show you today, how we created our LOLLIPOP TREES, for UNIVERSAL’S HOPpy EASTER PARTY!!!
Supplies needed:
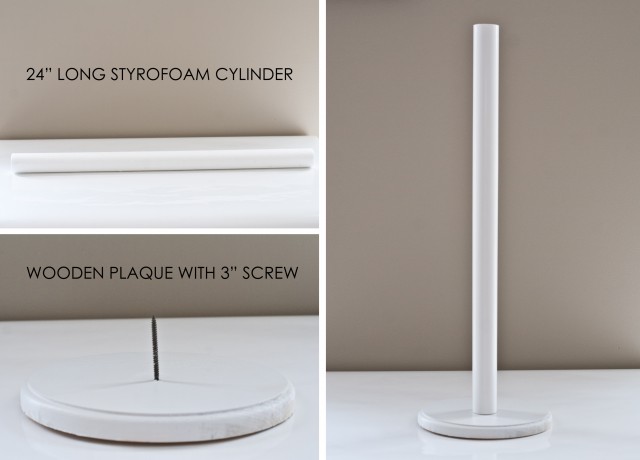
24″ long styrofoam cylinder
Wooded plaque, painted white
3″ long screw
White wrapping paper
Wooden skewer
Lollipops, various sizes & colors
—————————————————–
Directions:
1. First drill a hole through the center of the bottom of the plaque
2. Next, drill your screw through the hole
3. Using white wrapping paper, cover the styrofoam cylinder
4. Insert plaque (screw) into the bottom of the wrapped styrofoam – if you want it to be a little more secure, and glue to the screw
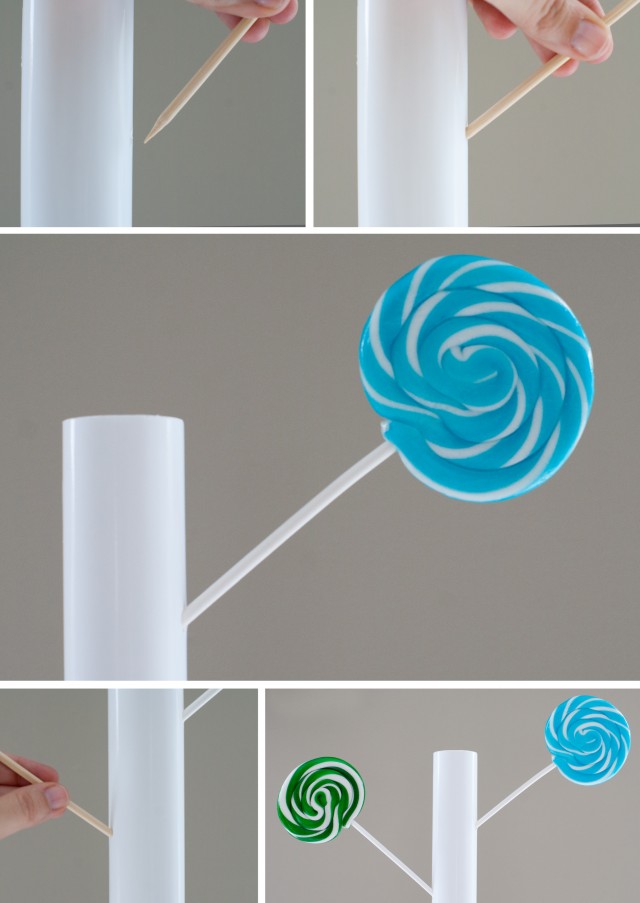
5. Once lollipop stand is ready, you will need to make holes to hold the actual lollipops
6. Take your wooden skewer and gently puncture into the styrofoam – be careful not to push all the way through, and insert wooden skewer at an angle, going down
7. Once hole is made, you can insert your lollipop
8. Repeat steps 6 & 7 until the stand is full of various lollipops -(we recommend that you rotate from side to side to keep the balance of the stand upright – the lollipops can’t be too heavy on one side verses the other, or the stand will topple over)
Also – we just eyeballed placement of lollipops…. there is no exact measurement between lollipops. You can insert lollipops on all sides of the cylinder, or you can just insert from side to side. You can keep them spaced dramatically apart (like we did) or you can bunch them together like shown in the movie. That’s the beauty of using styrofoam – it allows for any type of creation you want to achieve!
9. Add a lollipop to the top of the styrofoam to complete your lollipop tree
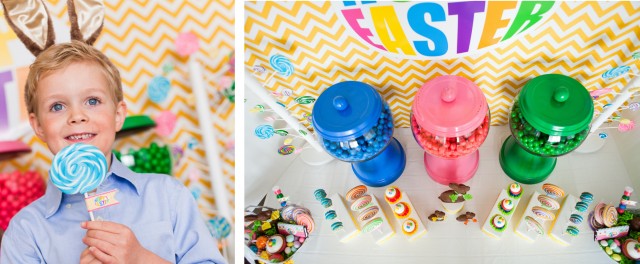
Want to see the full photoshoot? (Thanks Becca Bond for your AMAZING photography) Click here to see yesterday’s amazing spread of sweets & treats!
Thank you Candy Warehouse, for providing the fabulous lollipops and candies!
Don’t forget: Mark your calendar for 3.23.2012 at Target. HOP hits shelves and will be on a display near the registers at Target.
—————————————————————————————————-
We love feedback!!! Did you find this tutorial helpful? Leave us a comment and share with others.
Also – if you see something we created from our HOP photoshoot, and you would like to know how we did it, leave us a message – your question may be our next Ruff Draft tutorial!


I am thinking that this is AWESOME!! I cannot wait to try this DIY stand and use it for my cake pops! Thanks for sharing! 🙂
Genius! Seriously Ladies, this Hoppy Easter party is amazing. LOVE!!!!
Super cute and the party looks amazing love all the colors. Thanks for sharing! 🙂
I love it!!! Thanks for sharing! : )