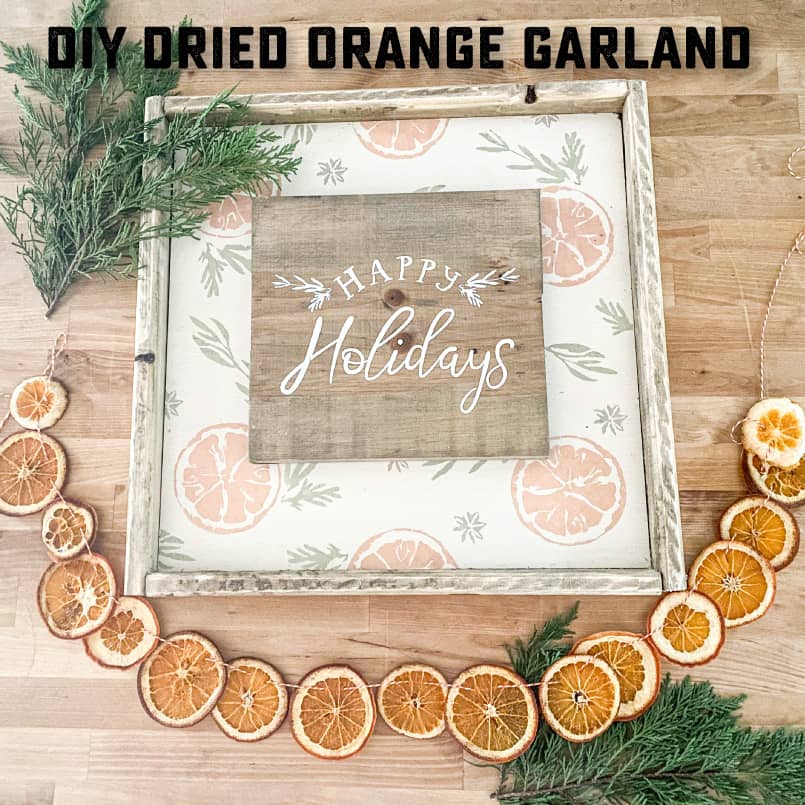
If you love decorating for the holidays with fresh garlands, we’ve got the perfect tutorial to share with you today! We are sharing this DIY dried orange garland tutorial from the gals at AR Workshop! Get ready to mix things up a bit and have fun trying something new. You’ll love how inexpensive and simple these garlands are to make. Plus, all the supplies are easily sourced at your local grocery store or craft store. (You might even have everything you need already at home!) We happen to think that DIYing dried orange garlands might just be your favorite new holiday tradition.
Supplies needed:
Oranges
Knife
Scissors
Parchment paper
Baker’s twine
Wooden skewer
Tape
DIY Steps:
1. Thinly slice oranges (recommended 1/8″-1/4″ thick). Don’t worry about the thicknesses being perfectly equal. The irregularity gives the garland part of its charm.
2. Line a cookie sheet with parchment paper. Spread the orange slices out into a single layer. Bake for 6 hours (at minimum) at 170 degrees until dried out.
3. Let the orange slices dry overnight.
4. Using a wooden skewer, create holes in the centers of the oranges to string through with baker’s twine or twine of your choice. I used a small piece of tape on the end of the baker’s twine to help thread it through the holes.
5. Hang garland and enjoy!
How easy, right? These garlands are so simple to make, but so versatile in their use. Hang them on a fireplace mantle, string them on windows or draped across cupboards, railings, and curtain rods.
AR Workshop recently released a DIY mulled spices home décor collection that would pair nicely with this DIY dried orange garland for the holiday season! Find your nearest AR Workshop location and check out the workshop schedule to make coordinating items for your home.


