Today starts our first ever Ruff Draft column…. Maureen and I are thrilled to be able to share some of our “behind Anders Ruff scenes” with you.
Since it’s the first article, we thought we would start off with a basic pom (so easy, so simple) – “Ruff” style.
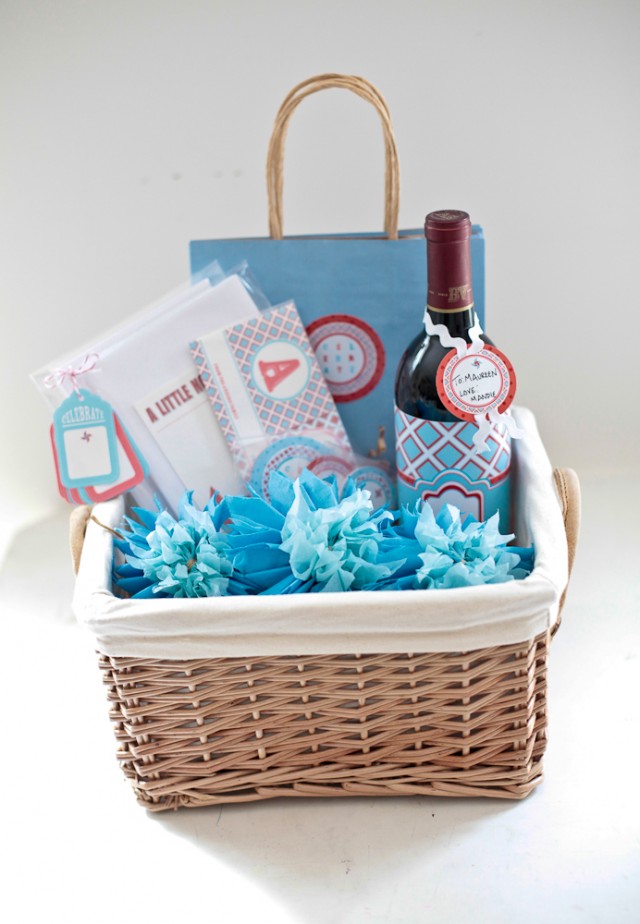
As you may already know, we just released a new product line – Printable Personalized Party Gift Packaging Accessories.
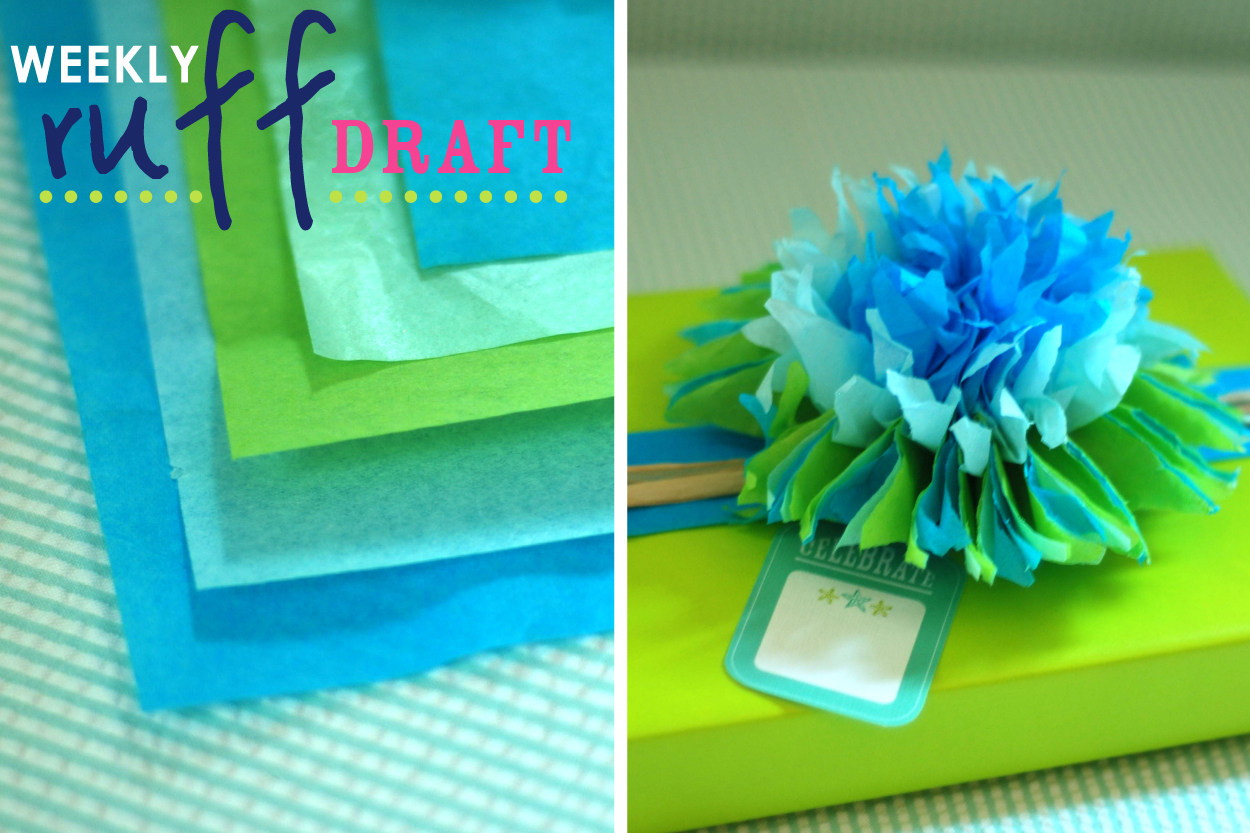
We wanted to demonstrate, how to make a gift pom (shown from our previous photos), so you can accessorize any package with these quick & easy DIY instructions. We love poms for decorating tables, rooms, chandeliers, etc… and think it is just as much fun to enhance a package with them.
We came up with a festive pointed pom variation… so simple, yet makes a bold statement!!!
Detailed instructions below: {we used 20”x20” sheets}
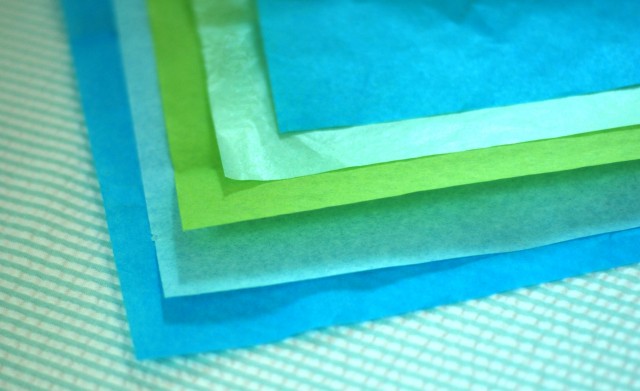
1. Layer 5 pieces of tissue paper – various colors
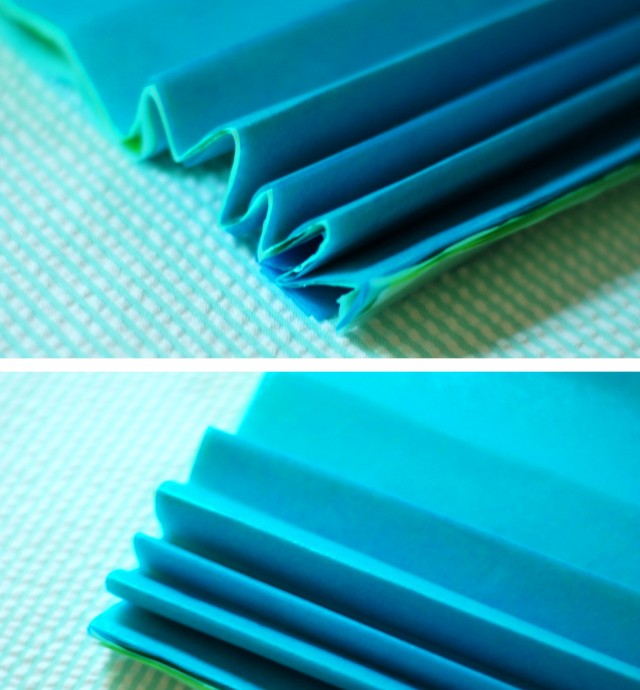
2. Fan-fold them together, ½”-3/4” wide until you reach the end of the paper
3. Cut fan-fold in half, then cut each half into another half – giving you (4) 5” long fan-folds
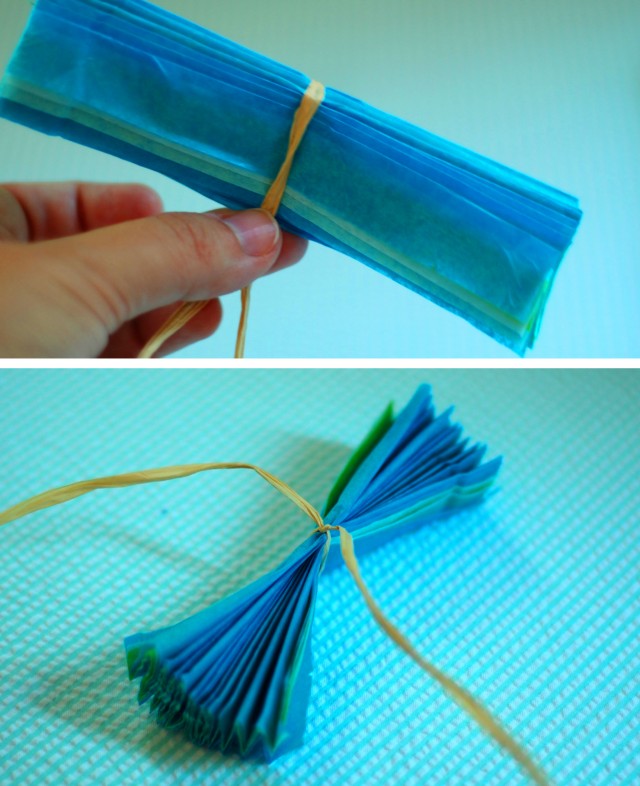
4. Tie each shortened fan-fold in half with really long string, twine or raffia
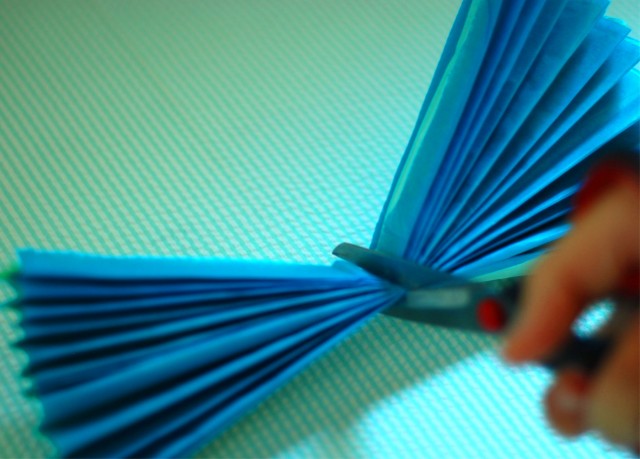
5. Cut each fan-fold end into a dramatic point with scissors, then fan the points apart.
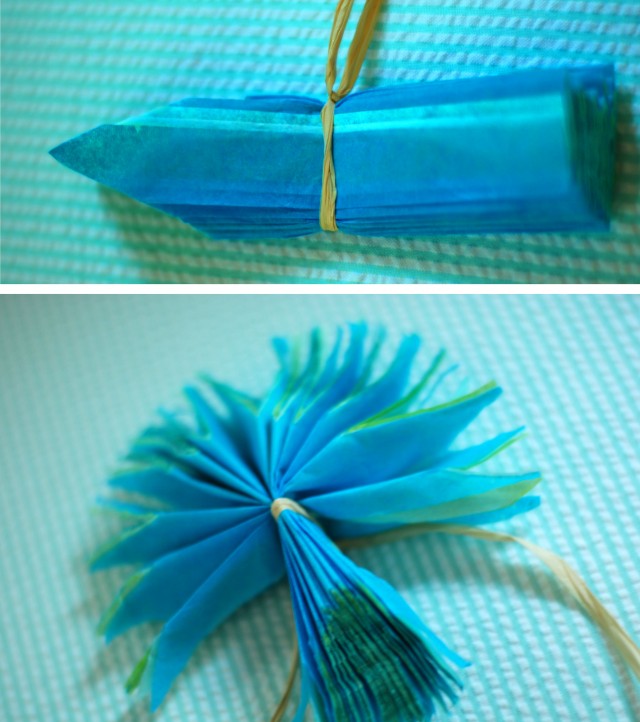
6. Gently pull up first layer of tissue to the center (Top Photo)
7. Gently pull up second layer of tissue to the center (Bottom Left Photo)
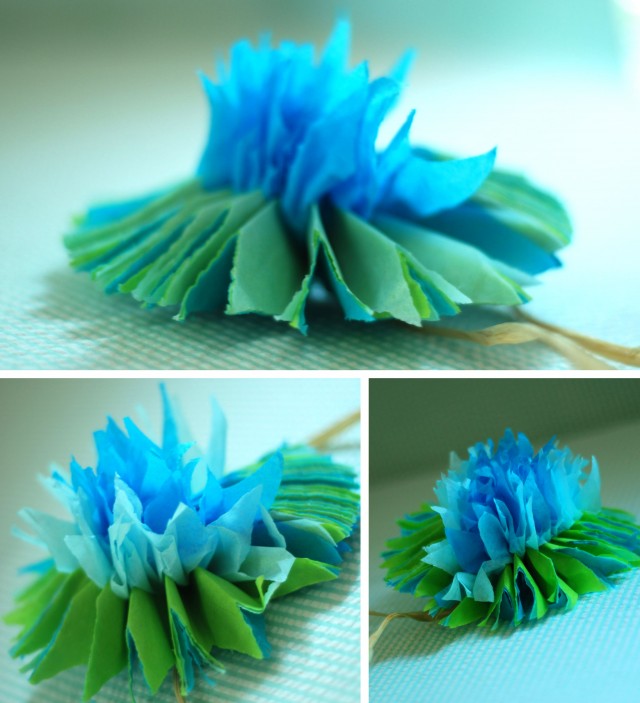
8. Complete both fan-fold halves; back-side should lay flat, with the 3 remaining tissue layers fanned out slightly (Bottom Right Photo)
9. Wrap present –weI like to use scraps of tissue paper, and raffia to the give textures to the present
10. Tie on pointed pom
11. Add personalized party gift tag

Tips:
We like to buy plain wrapping paper from discount stores in various colors. (My favorite is actually a natural brown – you can mix this neutral color with any tissue paper accents)
We then use inexpensive tissue paper & raffia to enhance our gifts. Tie on a gift tag, and you are done. It is a very economical way to give a very impressive gift with little time and effort.
*We love FEEDBACK!!! Did you find this useful? If so, share this post on Facebook, or send us a comment.


Love this; awesome as always! Thanks for sharing!
I love this!!! Thanks for sharing
love this – thanks for the tutorial…looking forward to trying this very soon!
This is awesome, and simple to do too. Thanks so much for sharing it!
LOVE IT!!!! Thanks for sharing!! I will be trying this technique for a shower im going to this weekend 🙂
Hey Everyone – thanks for the responses… If you ever see something we have made from a photoshoot and you want to find out how we did it, send us a request.
me encantan todas sus cosas.
I lovo all your stuff. Your beatifull design
I love this. Great project to do in front of TV when the little one is sleeping. 😉 Now to get the supplies.
So pretty! Thanks for sharing!
LOVE the DIY tutorial! I love how they really add that WOW factor to the gifts. I can see so many fun uses for these. I’m in the middle of planning a Wonderland themed party & think these would be fun tied to the backs of chairs or attached to some textured fabric like burlap and then fastened to the chairs to add a pop of color and whimsy to the table setting. I can’t wait to try making some!
Beautiful!
I love these! Great idea!
so helpful! Thanks for sharing.. and the pictures are great for us visual learners!
I love them! This is exactly what I want to do for my daughters party Adria! Thanks so much for directing me to this page! I am going to have to keep up with your great blog!!