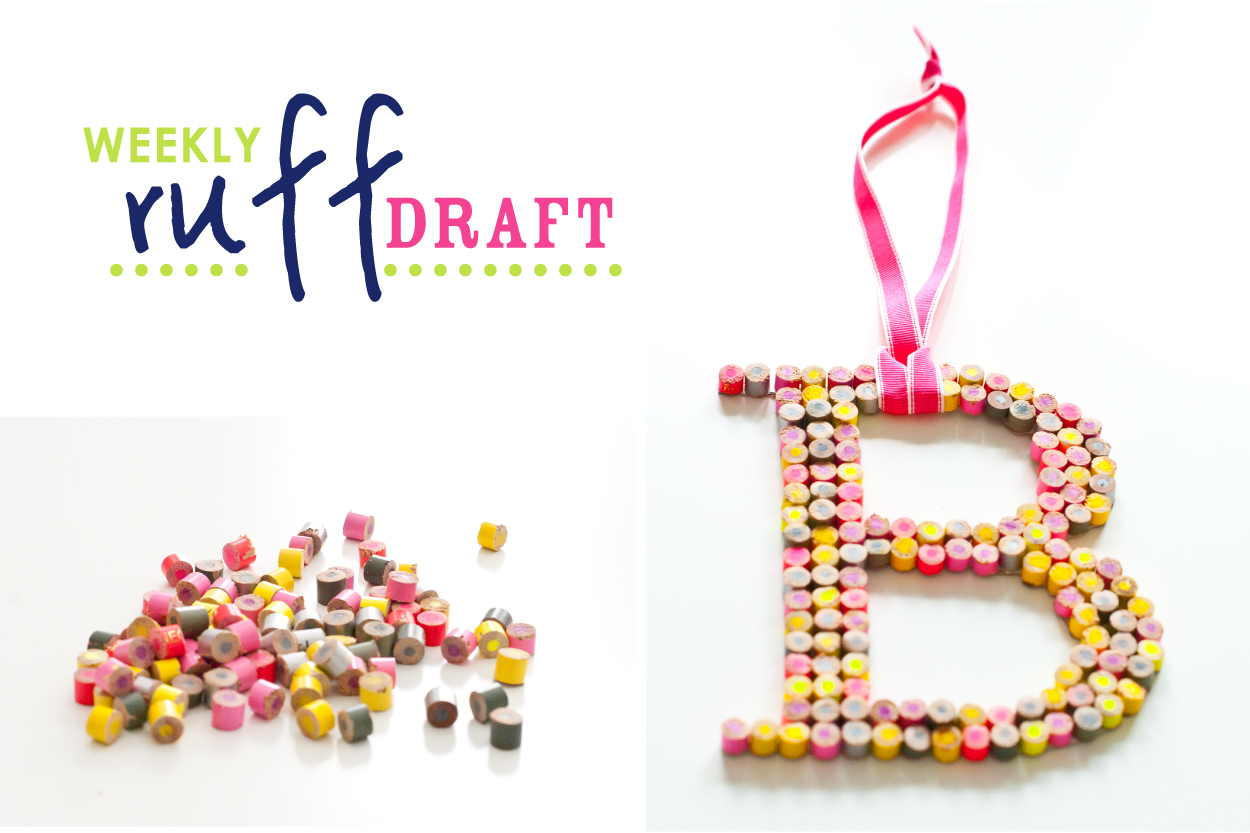
We are loving Back to School this season… (maybe it’s because it gives us more time for creative fun)! In spirit of Back to School, we wanted to show you an economical and whimsical way to create monogram letters!
Colored pencils are easily found at the dollar store, and most people have them around the house. Instead of coloring with them, try cutting them into little beads to make a 3D art project!
We are going to show you how to take a simple household craft item, and turn it into a piece of art.
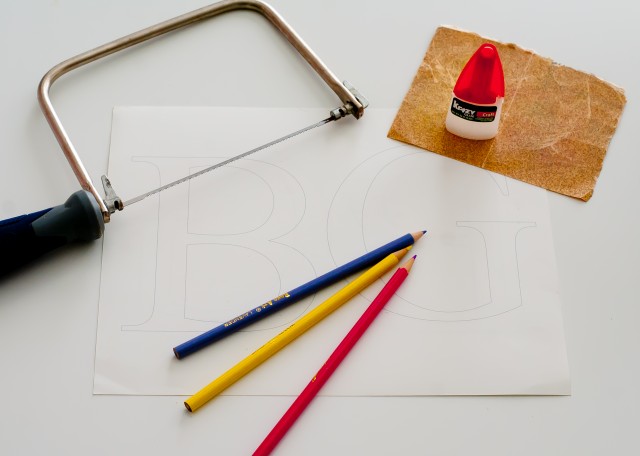
SUPPLIES NEEDED:
– A monogram letter printed on cardstock – Type a letter in your favorite font, enlarge, and print.
– Colored pencils
– Hand saw, scissors, x-acto knife
– Sand paper
– Krazy glue (for crafting)
– Piece of cardboard (about the weight of a large posterboard) – something that you can cut but is more durable than cardstock.
– Thin sharpie for marking lines on pencils
—————————————————————————————————–
DIRECTIONS:
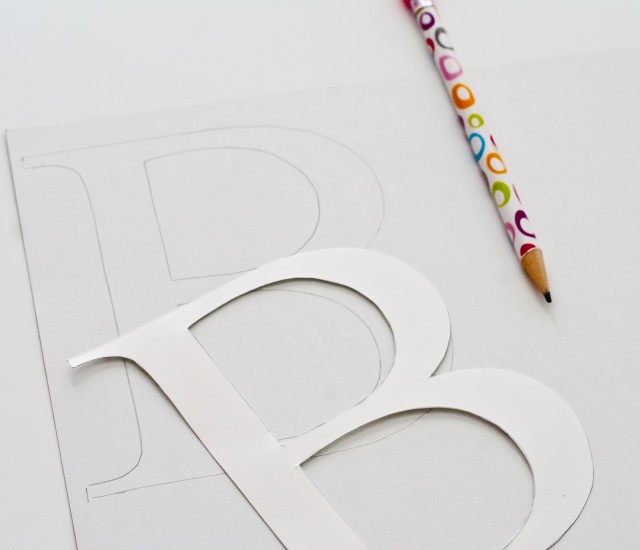
1. Cut out your printed letter, and trace onto poster board.
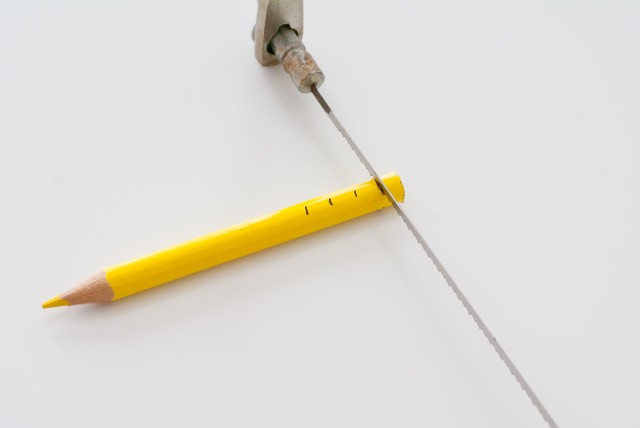
2. Choose your colored pencils (colors you want to use), and mark 1/4″ markings along pencil.
3. Using hand saw, saw off each piece
*Note – I put the pencils in a clamping vise to hold them still.
4. Once beads are cut, you will need to sand to make smooth (just needs a little polishing up) – I used 100 grit sand paper
*Note – lay sand paper flat on table to sand – much easier this way.
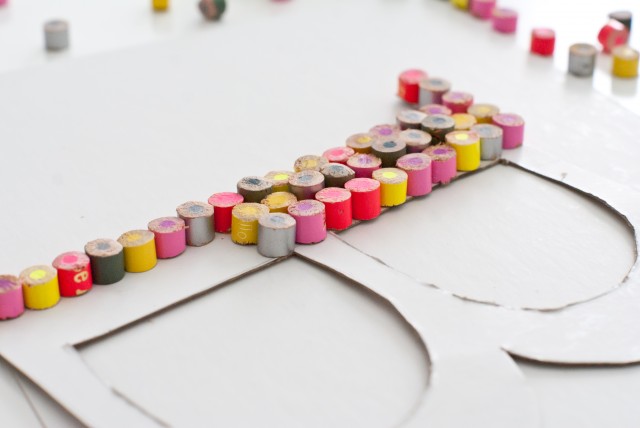
5. Take your pencil beads and line up on letter, to make sure you have enough (and to get a visual of how to fit them correctly)
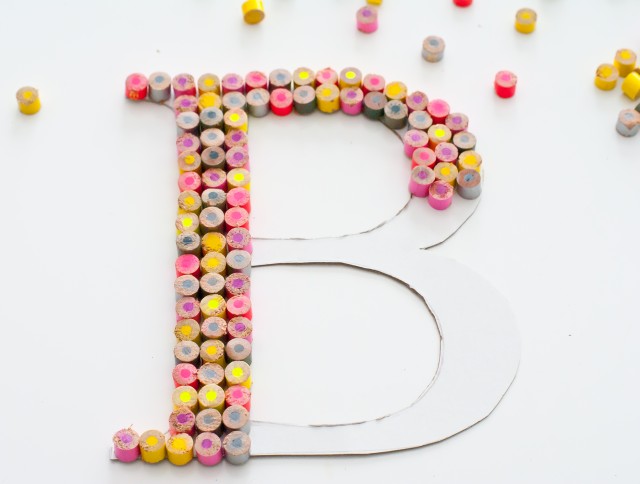
6. Using craft Krazy glue, carefully place each pencil bead to fill letter. Place them so they are butted up against each other, creating a tight fit. (make sure you line your table with scrap poster board or wax paper, because glue will leak a little)
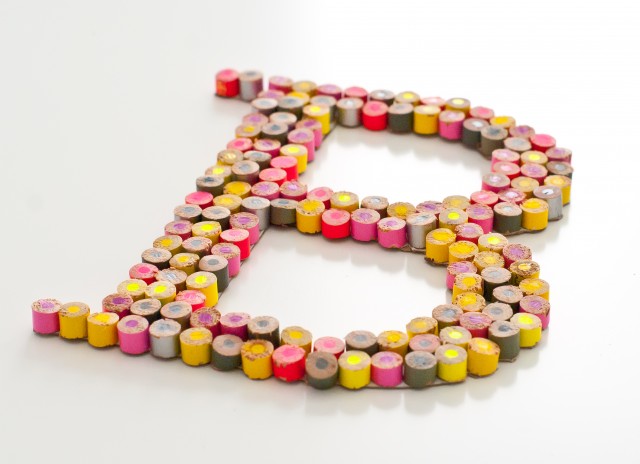
7. Once beads are secured to poster board (doesn’t take long for them to dry), take scissors or an x-acto knife and cut away visible posterboard.
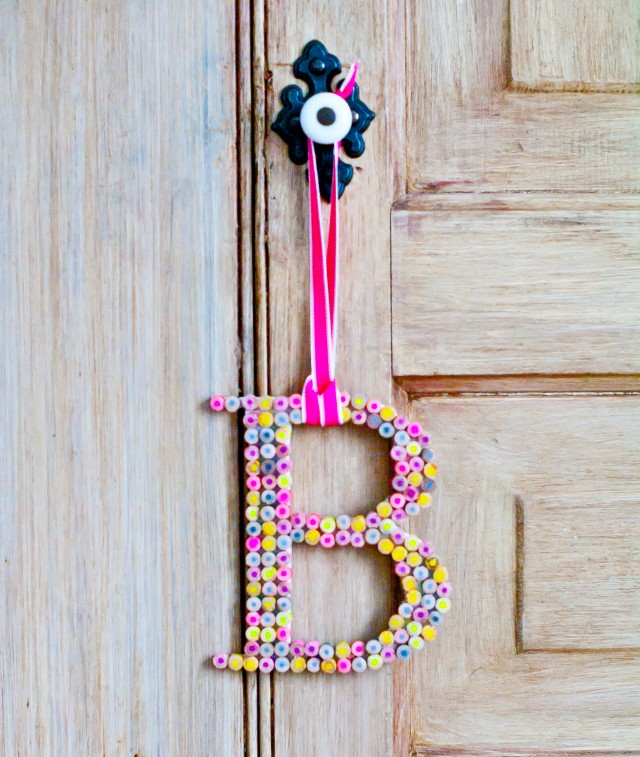
8. For finishing touch, add ribbon to hang.
Place on an art cabinet, hang on a teacher’s door…. put it in your kid’s craft room!
How cute would this be, stuck to a long lollipop stick and displayed at an Arts & Crafts themed birthday party on a dessert table?
Make small versions for Christmas ornaments in red and green!
Check out these fun art party printables in the shop!
—————————————————————————
We would love you to leave us a comment and share with others – we love your feedback!
Follow us on Pinterest to follow some of our favorite crafts and tutorials!





wow love love this idea!! amazing tfs
It is an amazing idea, I’ll for all of my family!