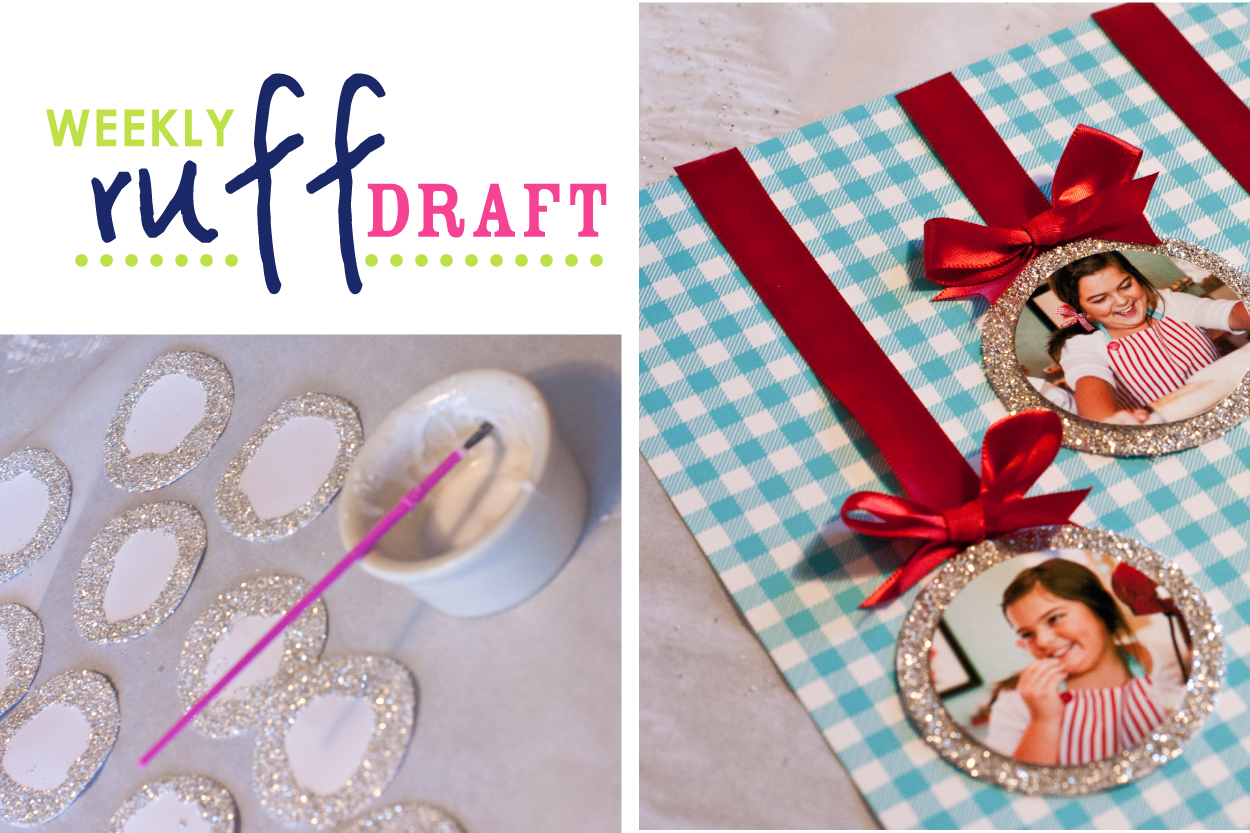
I can’t believe that Christmas is in 11 days….. if any of you are last minute gift givers, I have a Christmas craft that is perfect for grandparents. My girls love to create artwork for their grandparents… and the grandparents love to receive it (so they say – along with the ooohhh and ahhhs). The girls & I were browsing around looking for ornament ideas, and came across this fun little project from Better Homes & Gardens, Christmas Card Ornament Art. Now of course, once I saw it, I had to do it Ruff Style – and include two of my favorite elements: photos of my kids, and german glass glitter. (Grammy, if you are reading this, either stop now OR act surprised when you open the girls’ Christmas gift)
Supplies needed:
1. 8.5″ x 11″ frames
2. Patterned paper and cardstock – I used the paper from our North Pole Christmas Holiday Printable Collection (you can use that paper or other scrapbook paper)
3. Photos of your kids – faces must fit in a 2″ circle
4. German Glass Glitter – or you can substitute with regular glitter
5. Elmer’s glue & double-sided tape
6. 1/2″ wide ribbon of your choice
7. Scissors or 2″, 2 1/2″ and 3″ circle craft punches
To get started:
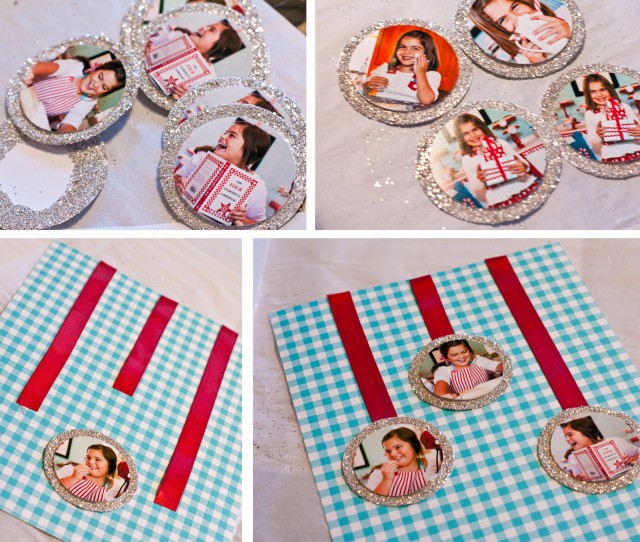
First go ahead and cut out your 2 1/2″ circles out of plain cardstock – this is for the glitter circle, and cut out your 2″ circle photos.
Once you have these cut, you will need to start glittering your 2 1/2″ circles.
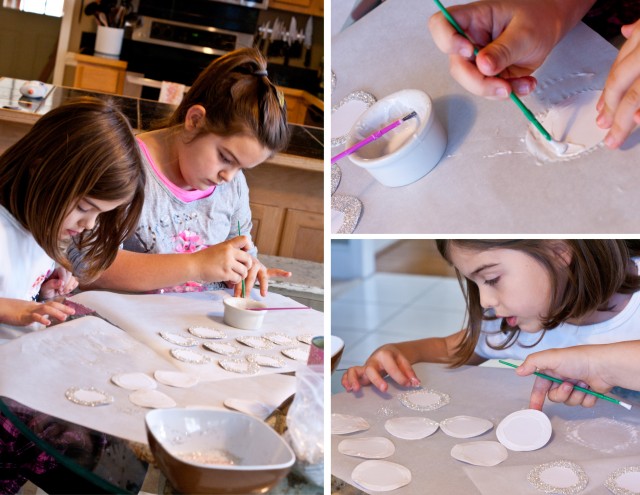
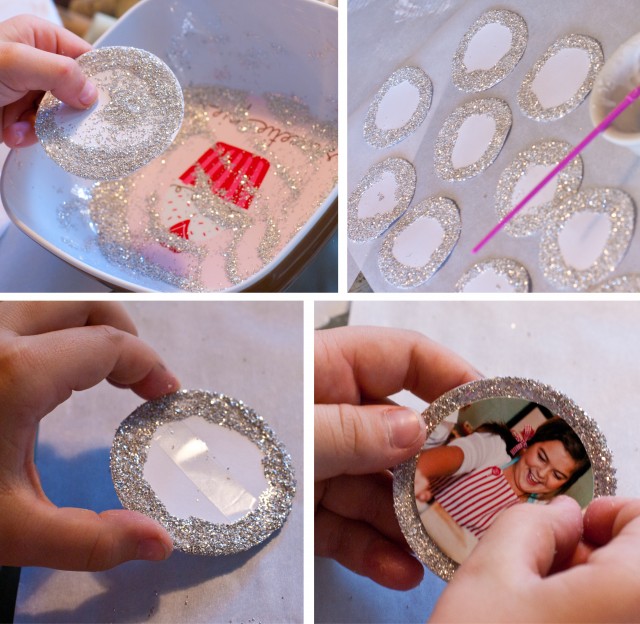
We put Elmer’s glue into a bowl, and used paint brushes to glue edges of the 2 1/2″ circles.
You will only need to glitter 3/8″ edge along the circles – leave the center unglittered.
Once you have a 2 1/2″ circle with glue around edges, you will want to glitter it while it is still wet. We poured the glitter over the circles in a bowl, to keep the glitter somewhat contained. (I’m not going to lie…. I always have glitter everywhere, when working on these kind of projects) 🙂
Once your glittered circles have dried (I allowed about an hour before I started the next part), use double-sided tape, and tape the 2″ circle-cut photo onto the 2 1/2″ glitter circle. Complete all of your photos.
Next, cut your patterned paper to 8″x10″. Then cut strips of ribbon to desired length on your 8″x10″ paper. Adhere them to the paper with double-sided tape.
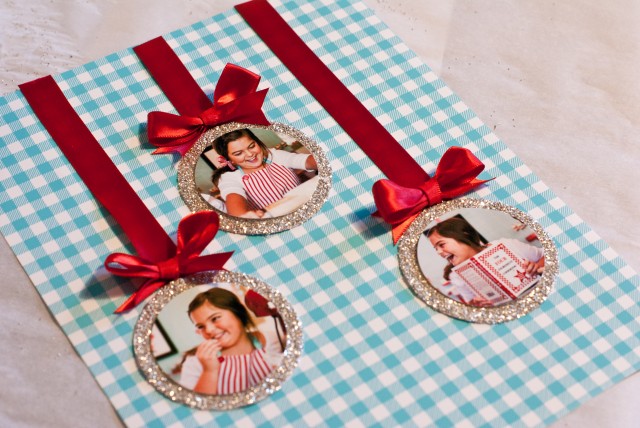
Once you have the ribbons taped down, then use double-sided tape and tape the glittered photos down.
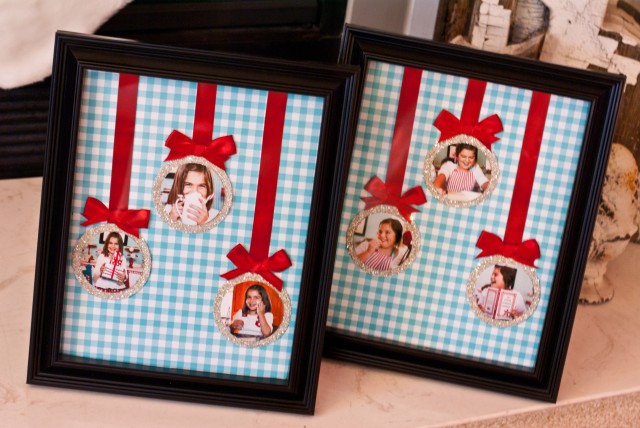
Last, make little bows and tape down to the top of each ornament.
Insert into your 8″x10″ frame, and it’s complete!
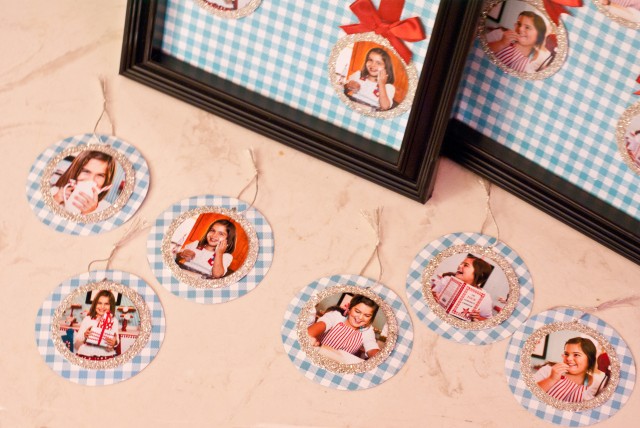
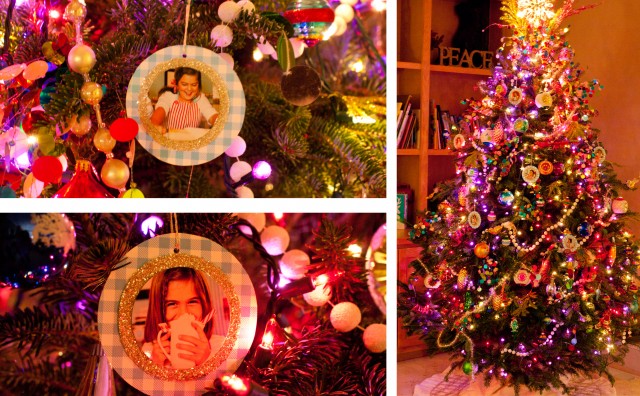
I also made Christmas ornaments, because at my house I do not have any wall-space for framed projects (sad but true)….
I thought these were too cute not to display in my own home so I had to create matching ornaments!
I cut out 3″ circle patterned paper, taped the glittered circle photos together, punched a hole at the top and strung a little silver twine through.
Super easy, and I just love how they look on my tree!
Happy Holidays!
————————————————————
Did you find this helpful? If so, leave us a comment or share with friends!


I love this idea! My kids are a little younger, but I know they will love to help me with it in a couple years!
Thanks!
I am so doing this. Thanks for another great craft idea. What can’t you girls do with paper?
i CAN’T TELL YOU HOW MUCH I love this idea.. not sure I can pull it off.. quickly… but I am going to try….
I love, love, love my “Ruff Style” ornament frames!!!
OOOOH, AAAHHH
Love,
Grammy Ruff