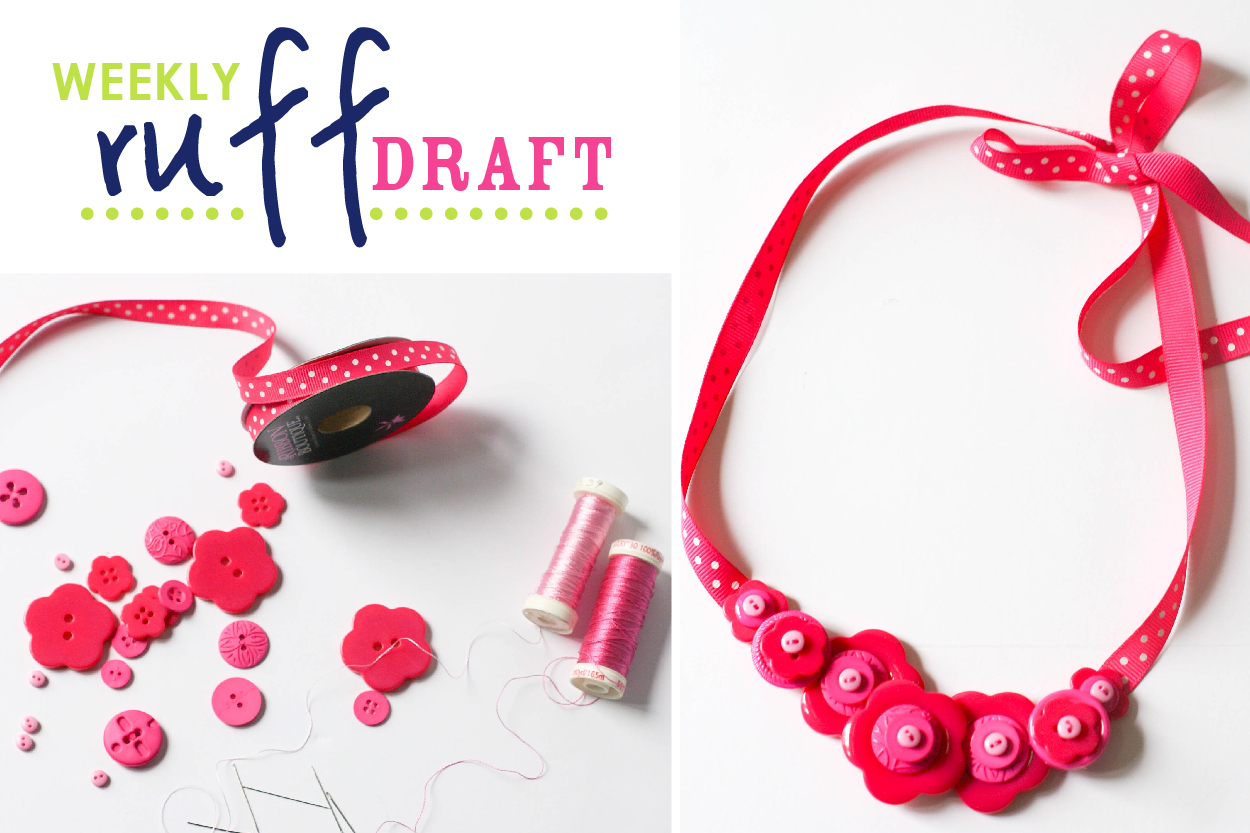
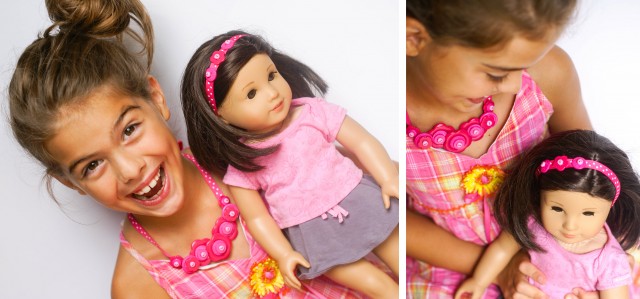
Today we are crafting button necklaces and headbands for birthday girls and their dolls! We created a Birthday Girl Doll Party, for our favorite Australian client, Yolanda Cerra (aka. Kiss Me Kate) a few months ago and wanted to show you the perfect craft for this particular theme. We used shades of pinks and reds in our printable design collection and party decor for a clever ombre effect. Check out the full party write up on Hostess with the Mostess.
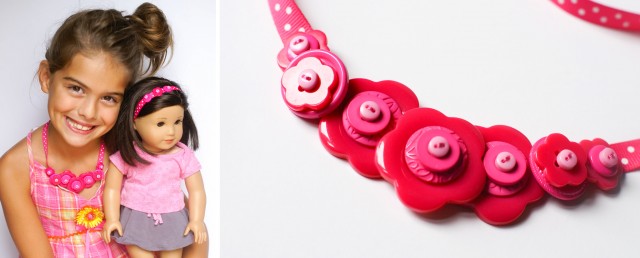
Most girls at this age, love dressing up their dolls… love jewelry… so we combined both in this fun project! We are showing you how to make a custom button necklace (for the birthday girl or guests), along with a simple headband to give to their dolls. My 8 year old loved sewing the headband for her doll and she loved matching to her doll even more.
Supplies needed:
Buttons in various sizes (we used shades of pink for an ombre feel)
Grosgrain ribbon
Needle/thread
*Craft glue (if you would rather glue the buttons)
—————————————————
Birthday Girl Button Necklace
Directions:
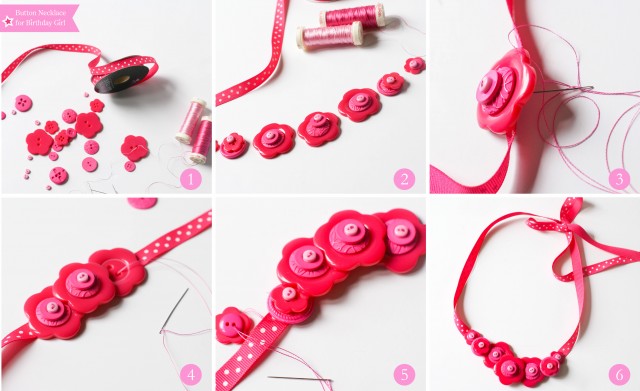
1. Collect your supplies for button necklace
2. Sort and line up buttons to create your pattern. I used large flower buttons, with smaller circular buttons to layer in stacks, in various sizes (large to small). Then I cut a long piece of grosgrain ribbon (long enough to hang around neckline, and tie in a bow in back)
3. At the center of the ribbon, sew on first button stack.
4. Continue sewing your stacks along the ribbon – I like layering, so I overlapped the buttons when I sewed them side-by-side. I used three large stacks of buttons for the center of the necklace.
5. Continue sewing the remaining stacks along the ribbon – I decreased the button sizes as I sewed them along the ribbon creating a cascading effect. (Again, I sewed the buttons very close together so they would overlap one another for depth).
6. Once buttons are sewn on, tie ribbon in a bow to wear. (You can add a little craft glue underneath buttons if you want buttons to stay in place when they overlap each other; or use a permanent glue if you don’t want to sew them)
Doll Button Headband
Directions:
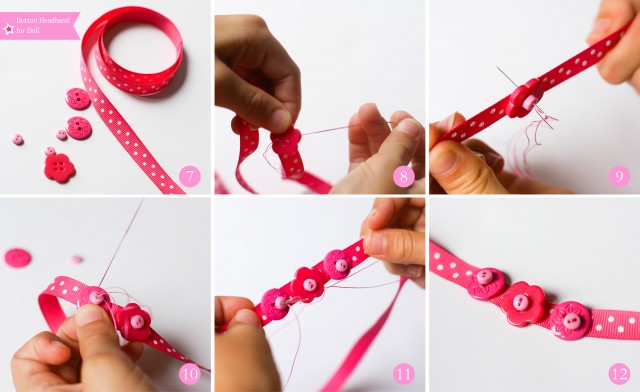
7. Collect your supplies for button headband
8. – 9. Sort and line up buttons to create your pattern. We used small flower buttons, with tiny circular buttons to layer in stacks, in various sizes (large to small). Cut a long piece of grosgrain ribbon (long enough to tie around doll head in a bow). At the center of the ribbon, sew on first button stack.
10. – 11. Continue sewing your stacks along the ribbon – we spread apart each stack by 1/4″ (I had to help my 8 year old sew them on, but she loved being able to sew it herself!)
12. Once you have sewn on desired button pattern, tie around doll head (tie the bow under her hair at neckline) and its done! (this can also be used as a necklace for your doll… but we love hair accessories…. you can even cut the ribbon shorter and tie on doll’s arm for a bracelet).
Don’t forget to check out our Birthday Girl Doll Printable Design Collection! We now have two invitation designs as well as cooridinating designs.



Just wondering where you got your buttons! Love this idea! Thank you!
Hi Katie – thanks for the sweet message. I found the buttons at Hobby Lobby. I’m sure you can find similar buttons at any craft store (they sell so many cute options now)!
Love…………. this idea !!!!