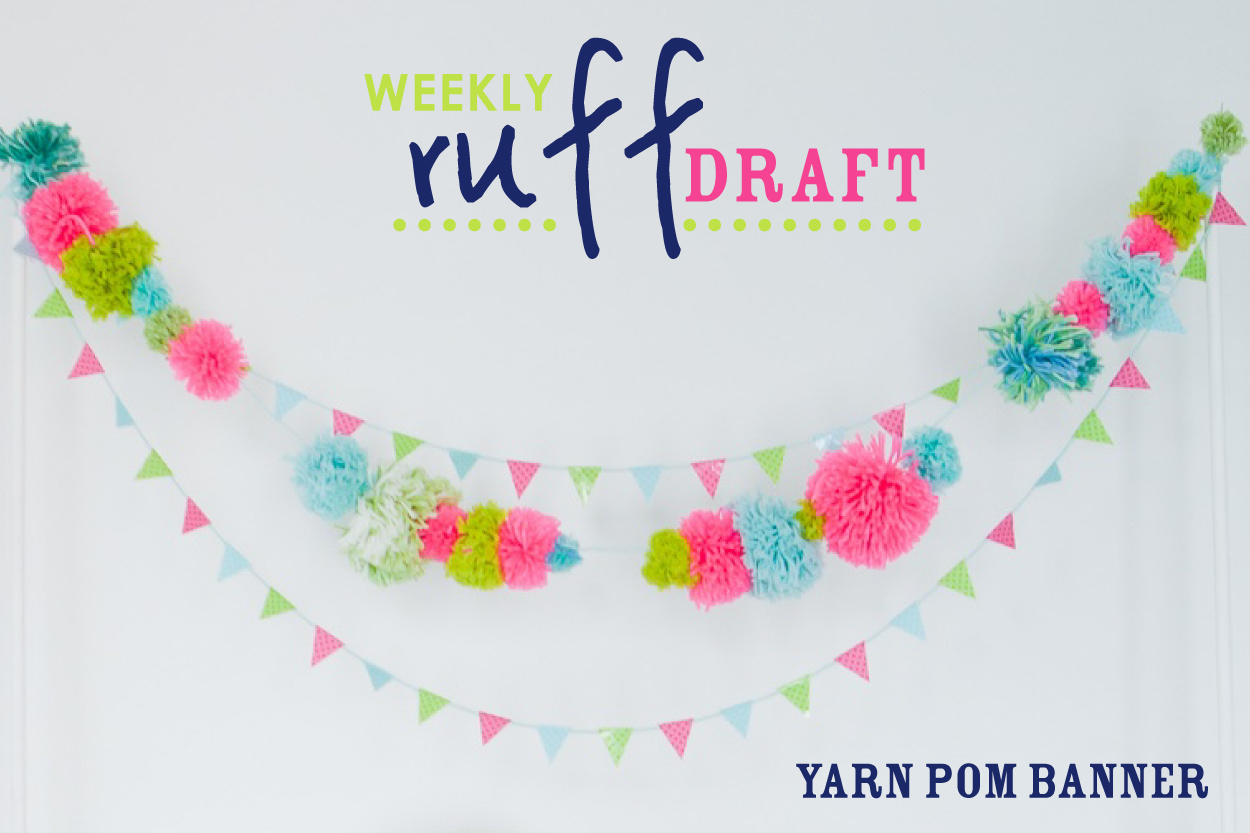
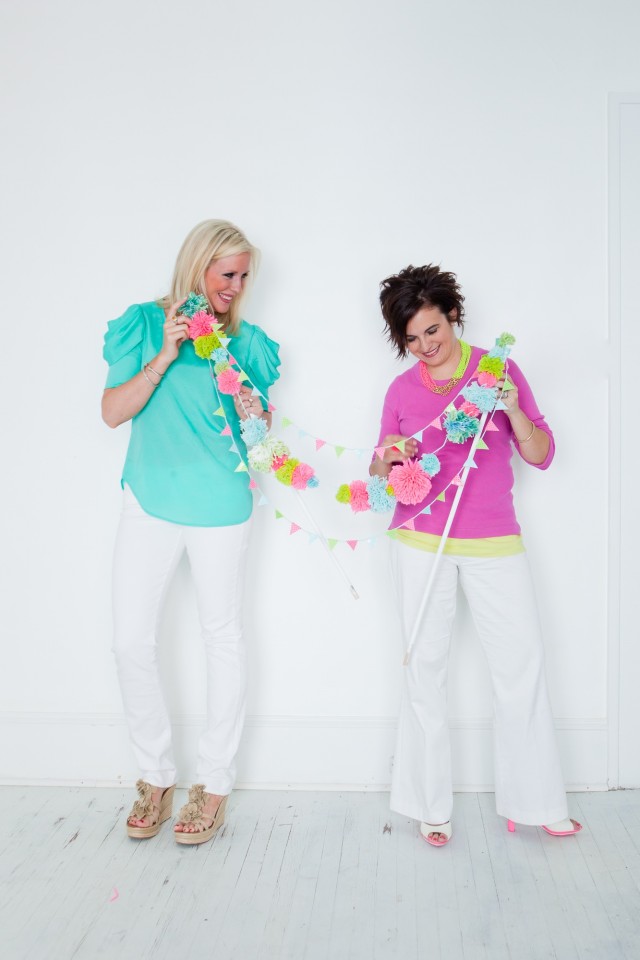
Remember the DIY yarn poms we showed you how to make a few weeks ago? Well, we have been getting questions about how we made our yarn pom banners… we are going to tell you how today!
Supplies Needed:
Pre-made yarn poms – various sizes (we used about 25 – 30)… this will depend on how long you want the banner to be!
Two wooden dowel rods (we painted ours white) – and we recommend approx 1/2″ thick at minimum: thinner dowel rods will bend due to weight of yarn poms
Thread/needle
Extra piece of yarn – for length of banner
*Extra – if you want pennants too, cut several 2″ long diamond shaped pattern papers out to create the mini-pennants. You will fold them in half and glue along long yarn strands.
———————————————-
Directions:
1. Space yarn poms out so you have them lined up how you would like. We mixed various sizes and colors. We also grouped about 3-6 in a row…. left space, grouped more…. etc.
We left approx 2″ spaces in between our groups of poms.
2. Once you have your poms lined out, you will need to take a very long piece of thread to start stringing them together. (I make my thread, doubled)
3. The first pom, will need to be sewn so it doesn’t fall off the thread (secure it with a knot).
4. String 3-6 yarn poms together. At the end of the group, knot it again to secure grouping in place. Leave approx 2″ space on empty thread, and then create another grouping of poms.
5. Repeat these steps until you have the length of the banner you would like.
6. If you run out of thread, knot it to the pom, and start another strand of thread.
7. Once the poms are sewn in place, you need a long piece of yarn for more stability.
8. Take the piece of yarn (leaving excess on each end so you can tie to something) and place along your line of poms.
9. Each pom needs to be tied to the long yarn. I just take two strands from the pom and tie to the yarn. If your strands are too short to do this, than use a piece of thread and tie the pom to the yarn. (you can hide the thread easily in the yarn pom).
10. When you get to the empty space of thread in between pom clusters, take the yarn and twist in and out of the thread so they are somewhat wrapped together – just helps for stability, and so the thread doesn’t break.
11. Keep tying the poms along the long strand of yarn until you are done.
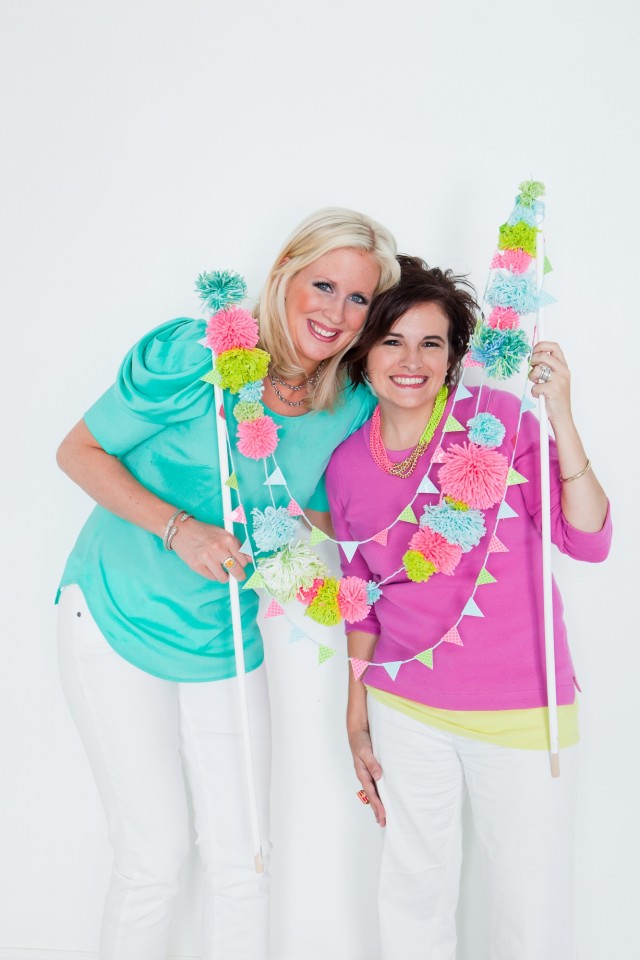
12. Tie your yarn pom to the dowl rods – we used tiny pins and nailed the pom banner to the top of the dowl rods so they wouldn’t slide off the rods.
13. Add two mini pennant banners along top and bottom of the rods for extra fun!
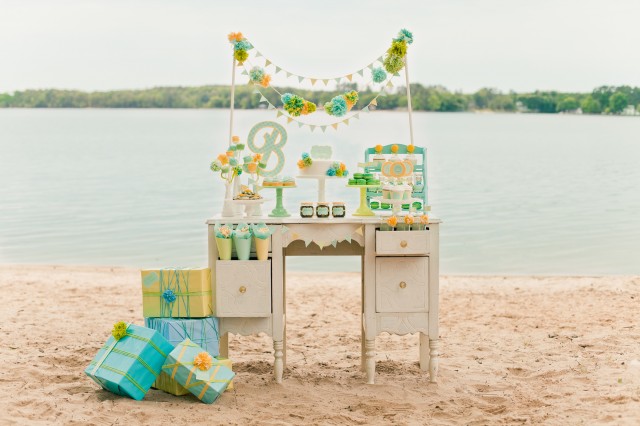
We used duct tape to add the rods to the back of the dresser below….
You really can’t see the thread that strings the banner together… up close maybe a little bit, but not far away!
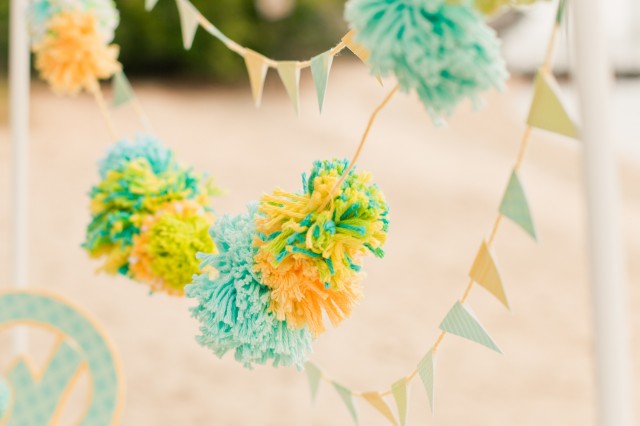
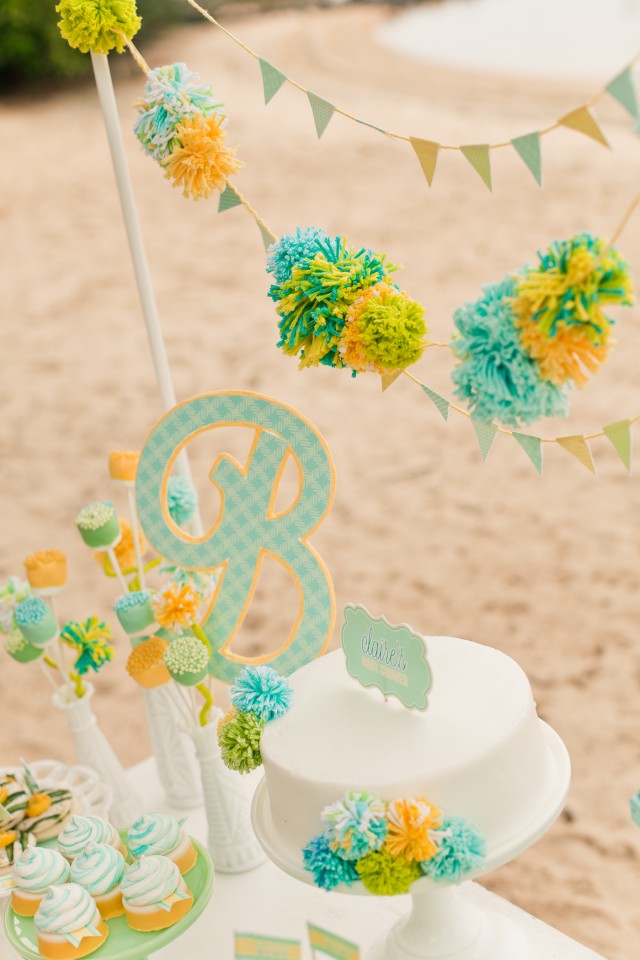
Check out the Monogram Baby Shower for more photos of how we used DIY Poms for party decor.
The Monogram Baby Shower Collection is available in our new shop!!!
—————————————————————————-
Love yarn poms? Leave us a message and share with others!


Yay!!! THANKS for posting this tutorial!
Hi, would you mind if I used some of the pictures above to write a short blog article on DIY decorations- check out similar on our blog at http://www.happyweddinganniversary.co.uk/blog/
The article would of course be fully linked back to you.
With thanks
Mrs D hello@happyweddinganniversary.co.uk
Hi there. Yes, you can use them with full mention before the photos and credit below the photos. Thank you!
Love your banner! Also where oh where did you get that lovely bright aqua top! I love the sleeve detail.
Really sweet ideas!
Hi Heather! Thanks! I got it at a boutique in Charlotte – K-La…. 😉