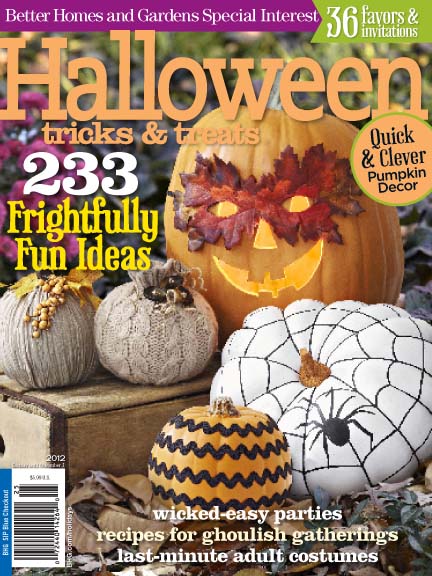
Have you had a chance to see the 2012 Halloween Better Homes & Gardens issue yet?
If you haven’t heard, we were hired to Design and Produce a Halloween Story for Better Homes & Gardens for their Halloween Tricks and Treats Magazine (with free printables!). You can read the full article online.
We designed a printable “Spooky Forest” Invitation and complete printable collection that is available for FREE DOWNLOAD on bhg.com!
If you look through the article, you will see several ideas for halloween crafts, decor and treats!
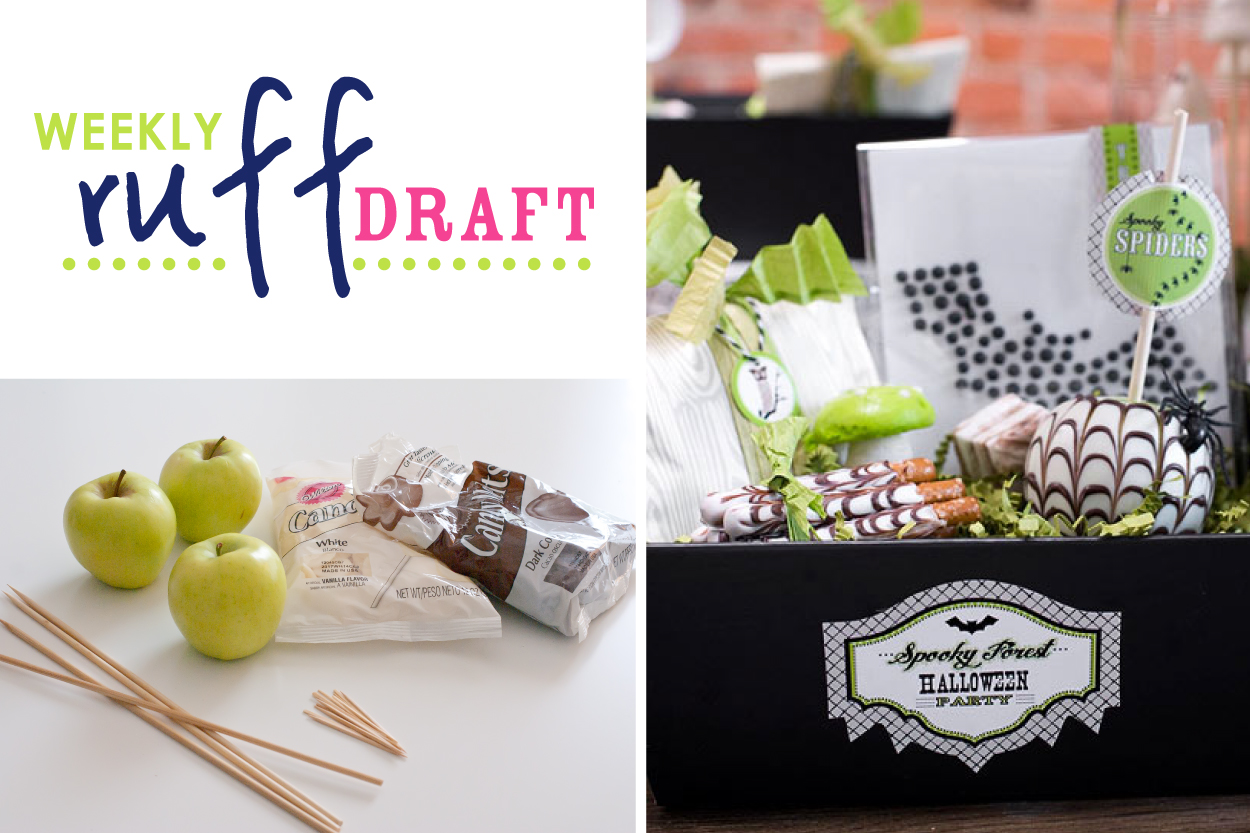
Did you by chance see in our kids lunch box display, a chocolate covered apple? The lunch boxes were located at the kids table!
We thought this would be a perfect snack idea to show you, especially with apple season approaching. (it’s kind of hidden in the box and masquerading as a spider web).
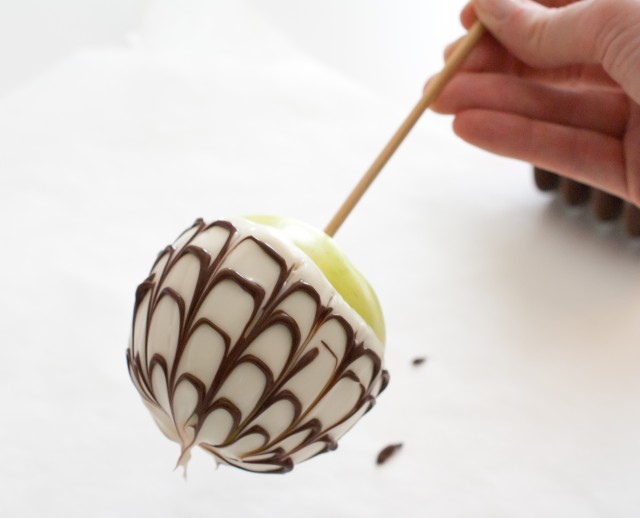
This easy spider web chocolate technique is a great way to dress up ordinary apples!
——————————————————–
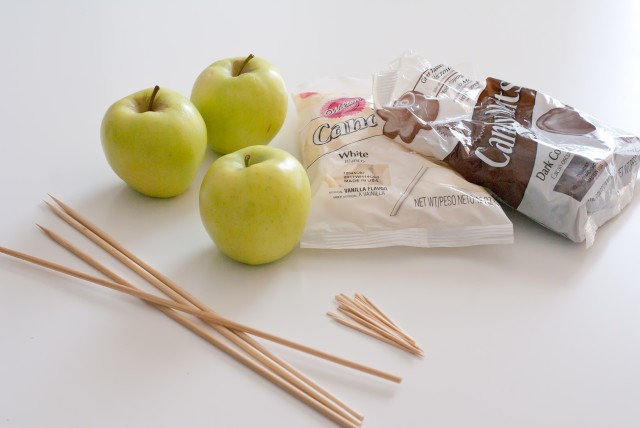
Supplies needed:
Apples
Melting Chocolate (white and brown)
Wooden Skewers (or white lollipop sticks)
Toothpicks
Directions:
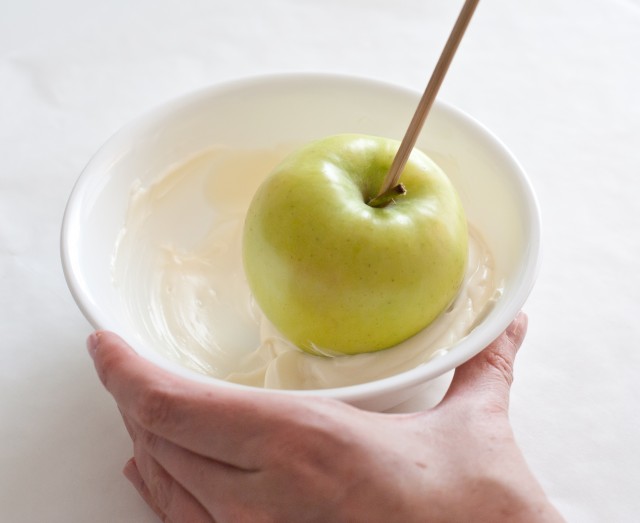
1. Insert wooden skewer into top of apple
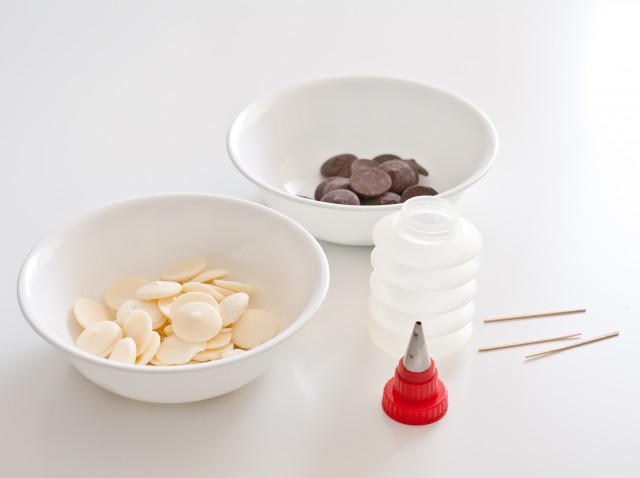
2. Melt chocolate according to package in two bowls – we used white as base coat, and brown for the spider web – put the brown chocolate into squeezing bottle
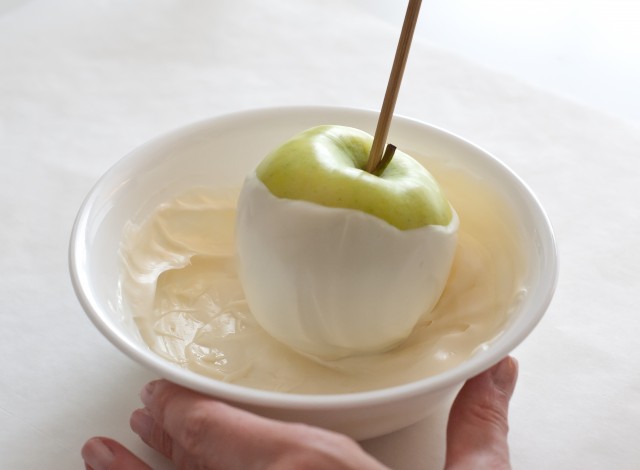
3. Once chocolate is ready, coat the apple (swirl it around in the bowl)
*Note do this quickly… you don’t want the chocolate to dry
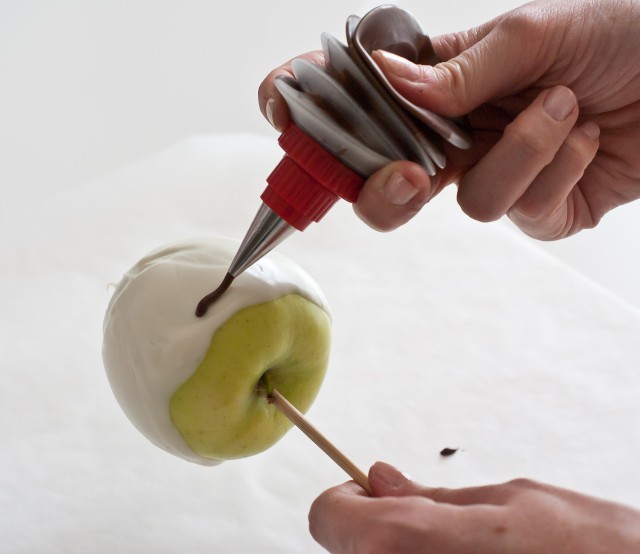
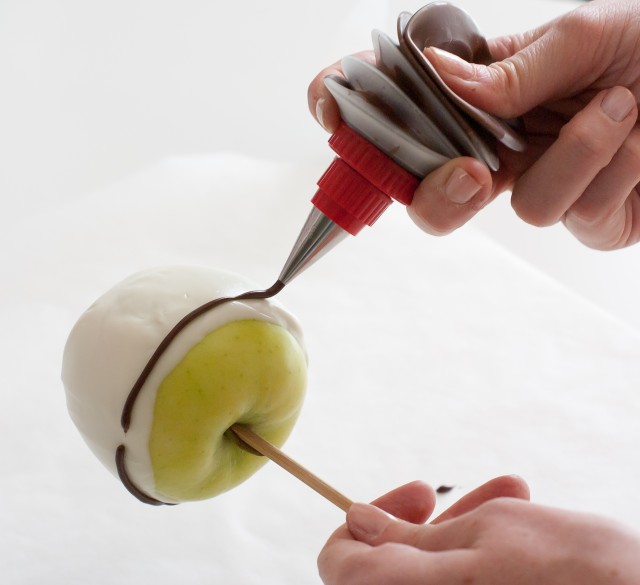
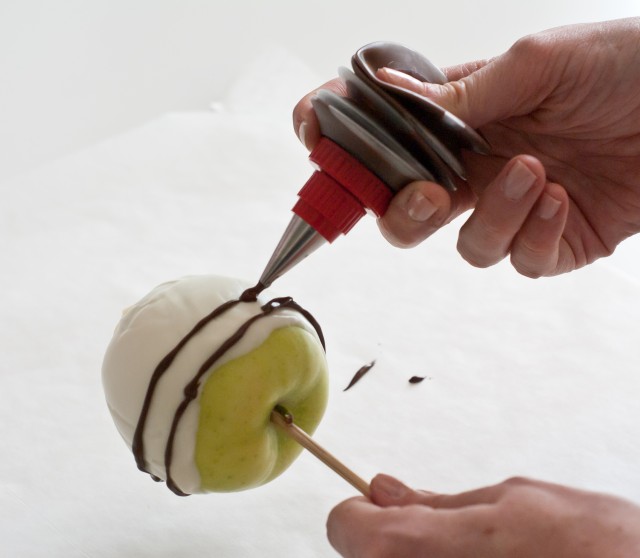
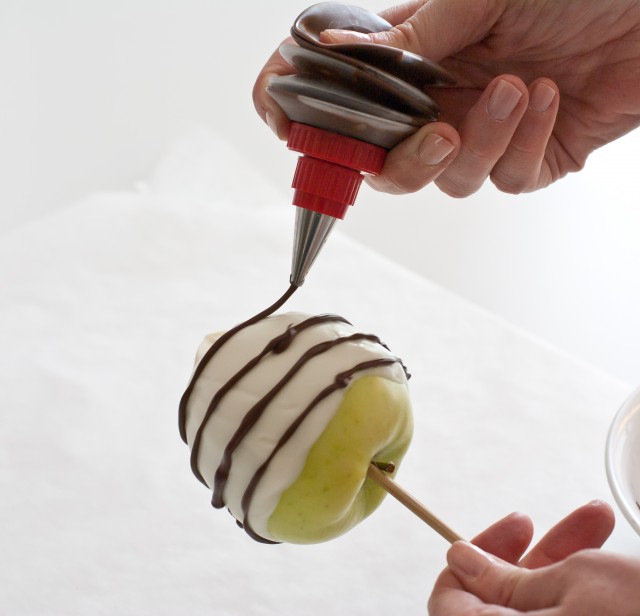
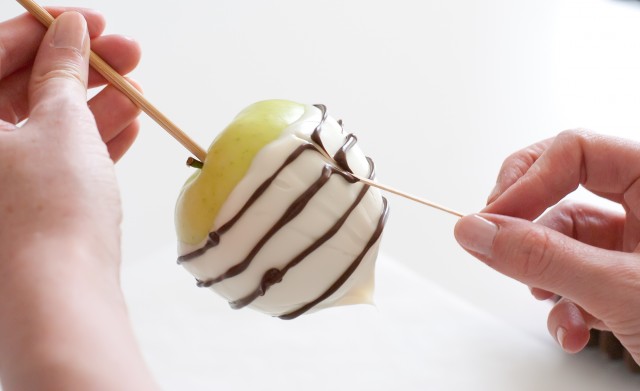
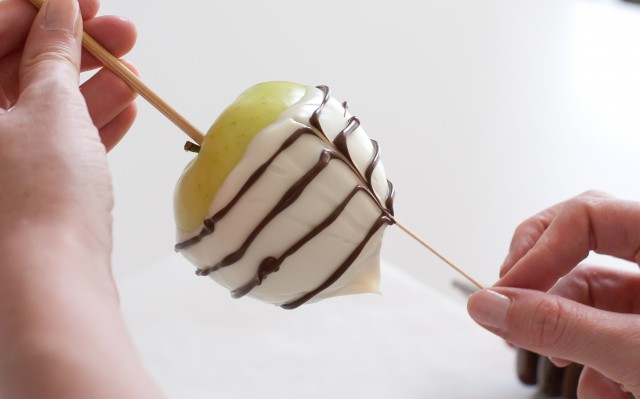
4. Next use the squeezing bottle and add stripes to the apple (while twisting the apple with opposite hand)
*Add stripes until you reach the bottom.
**Tip – if your chocolate is too thick or not smooth enough, you can add a tiny bit of vegetable oil (like 1/2 tsp)… this will thin the melting chocolate and make it easier to drip on apple. NEVER add water or food coloring to melting chocolate!
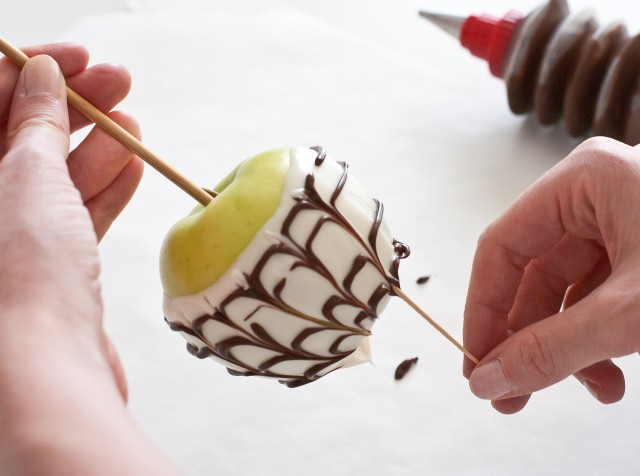
5. As soon as you complete the stripes, next comes the webbing technique. Take your toothpick and drag through the chocolate from top stripe to bottom stripe.
6. Repeat dragging method all the way around the apple until complete
7. Let dry, and then add a printable party logo to the stick for a final touch! Get your FREE PRINTABLE DOWNLOADS here!
Wouldn’t this be great to take to school for snack day this October… or put out for your next Halloween party?? Kids just love these apples, and at least they get a bite or two of something healthy. 🙂
Don’t forget to take a look at our Glam-O-Ween collection we also designed for this year! It’s available in the shop now!




Those are so pretty! Congrats on such a lovely feature.
These are amazing! Can’t wait to try making them! Congrats on the feature!
Thank you for sharing.
LOVE these. Thank you for telling us how to make them! The whole party is just amazing. We are using the printables for our annual Halloween trick-or-treating neighborhood party. Can’t wait!!!!
Awesome idea! Must try