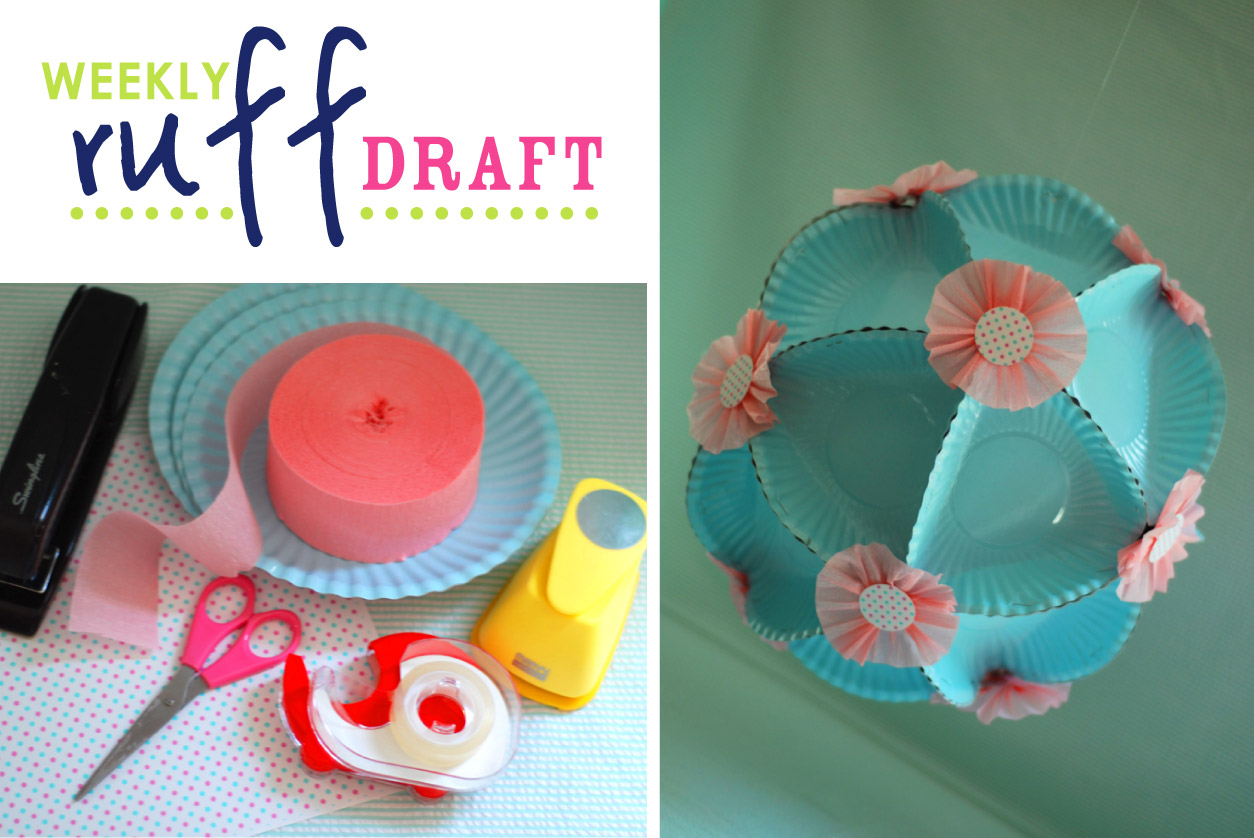
Today’s RUFF DRAFT is inspired by Maureen’s favorite Polyhedrons, seen in our “I heart Valentine’s Day” photoshoots and “Jeffrey’s Modern Lego Inspired Birthday Party” photoshoots. We have had several questions about these fun accent pieces, so we wanted to share with you this easy DIY project. Maureen asked me to demonstrate the tutorial….. and I of course, wanted to give them a little Ruff Flair .
We orginally found a fabulous paper polyhedron tutorial from Disney’s Family Fun website…. We figured – why not share the love and add our own AR touches!
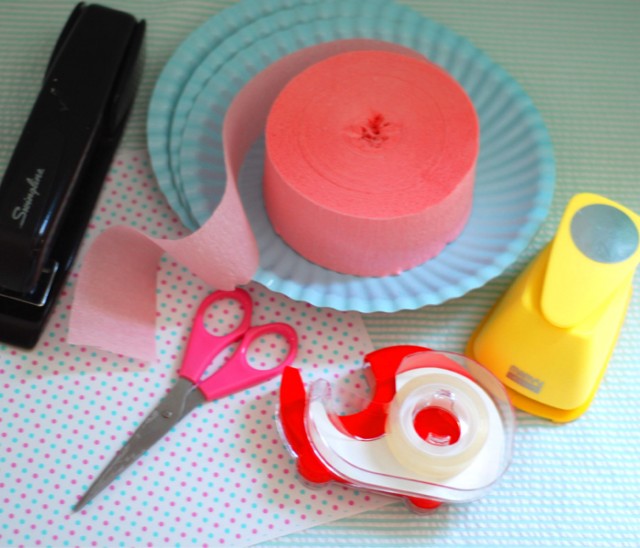
Supplies Needed:
1. 20 small colored paper plates
2. Stapler
3. Scissors
3. Crepe Paper
4. Regular Clear Tape, and Double-Sided Tape
5. 1 1/4″ circular Craft Punch
6. Pattern Paper – (download your 3 FREE Patterned Papers at the bottom of this post) or use your own
Polyhedron:
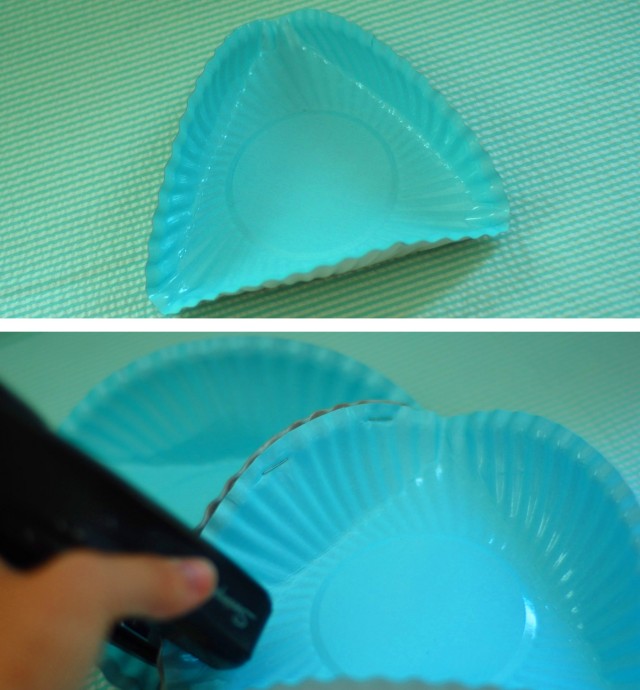
1. Fold each plate into thirds, creating a triangle shape
3. Connect 5 plates total to create the top portion of the Polyhedron. Then make a second version (with 5 more plates for bottom of Polyhedron)
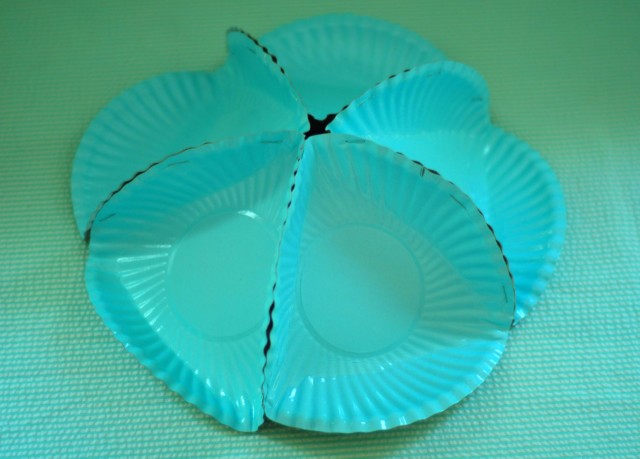
4. Next, staple 10 plates together to make a chain
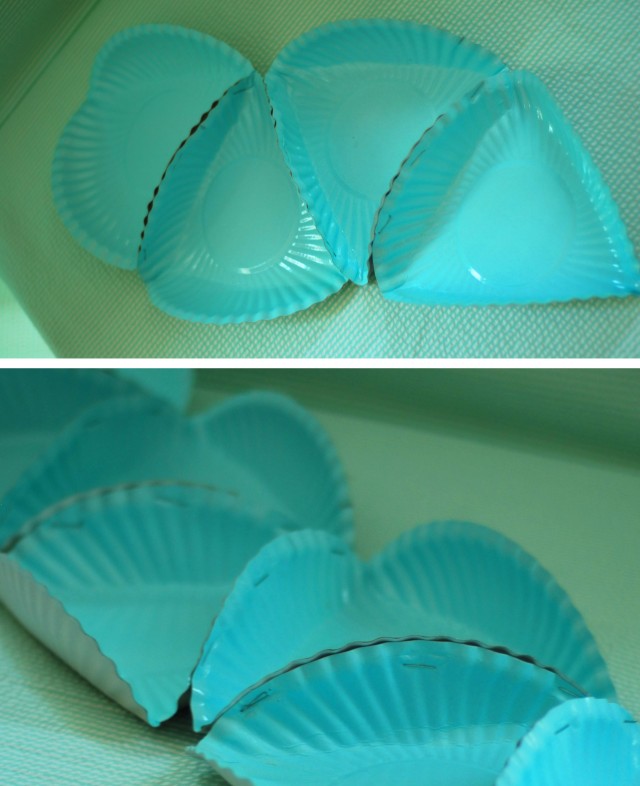
5. Connect both ends of chain to make middle section of Polyhedron
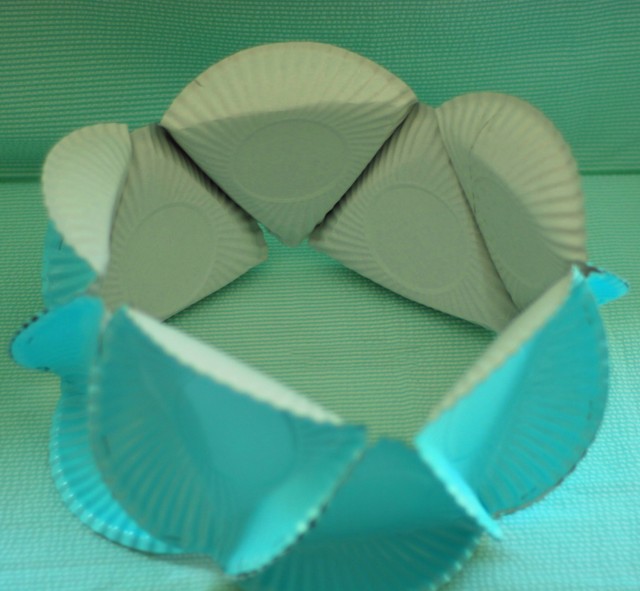
6. Staple top of Polyhedron to middle section, then staple bottom portion to middle section
Should look like this when completed (see below)
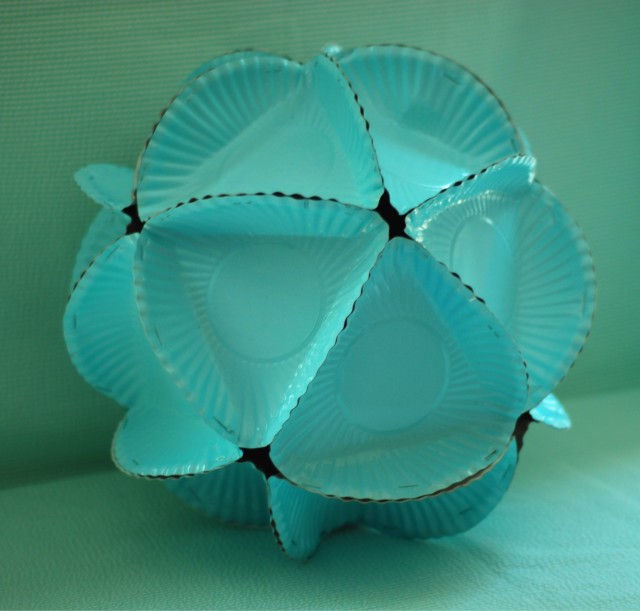
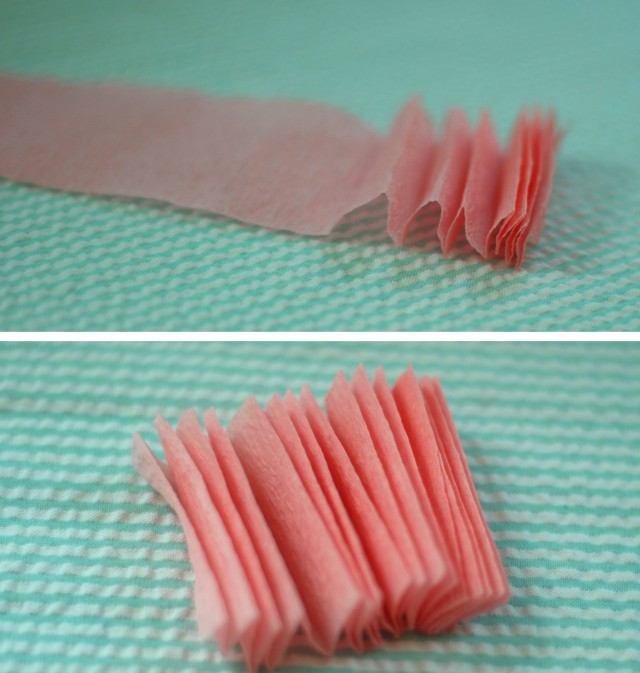
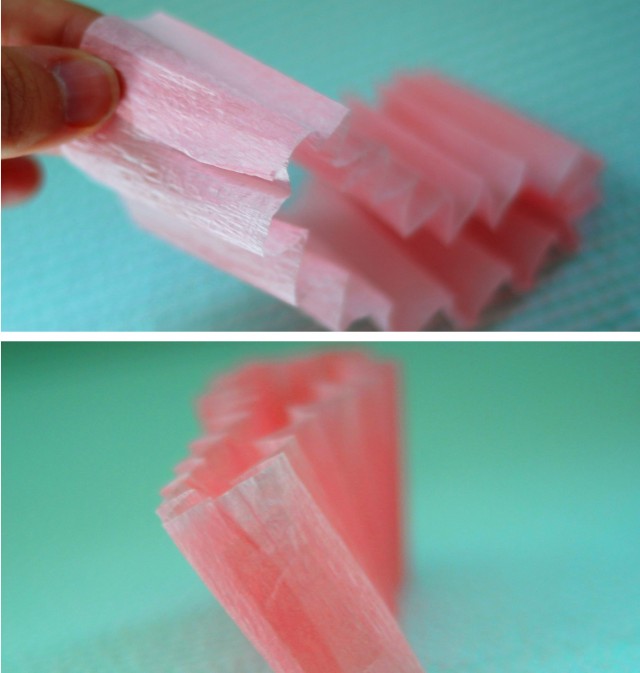
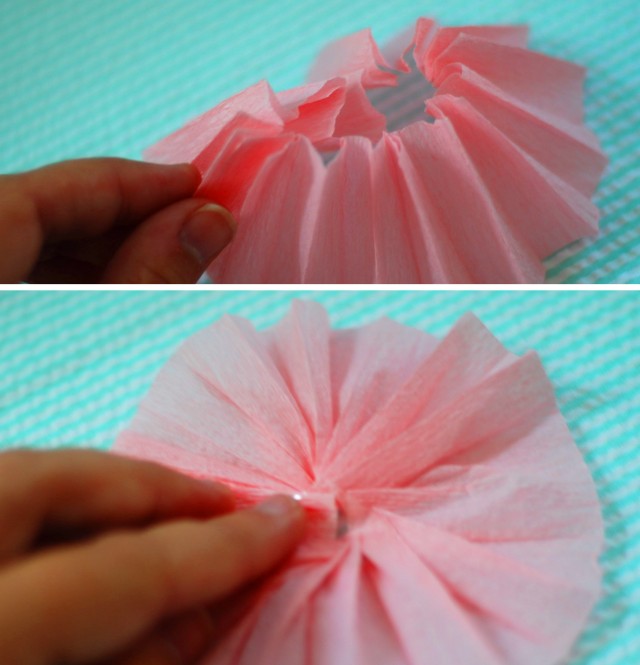
7. Use double-sided tape and adhere each Fan Ruffle to all 12 corners of Polyhedron
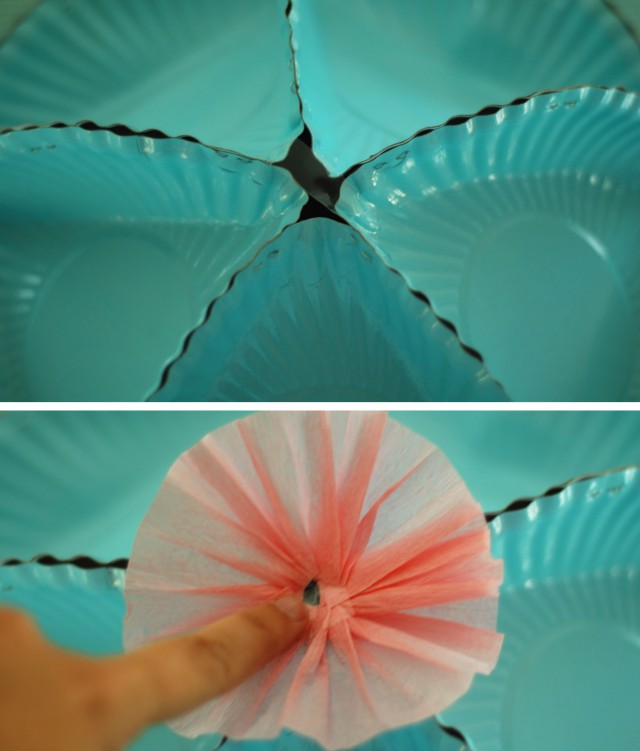
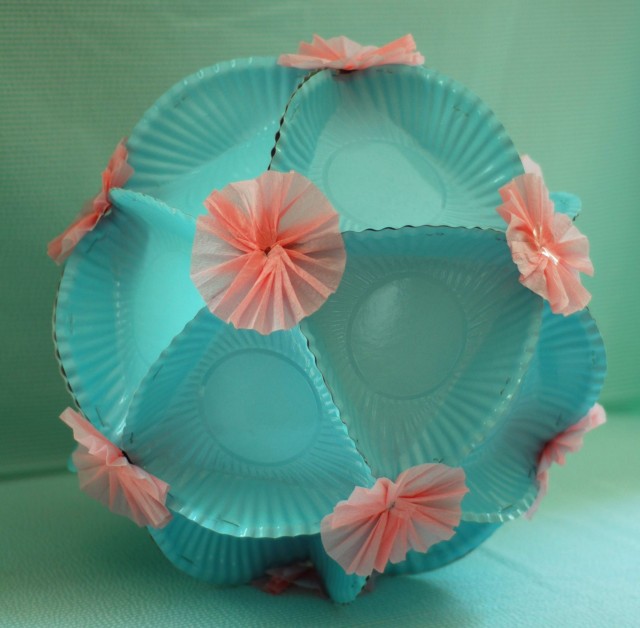
8. Next use your 1 1/4″ cicular craft punch, and cut out 12 circles
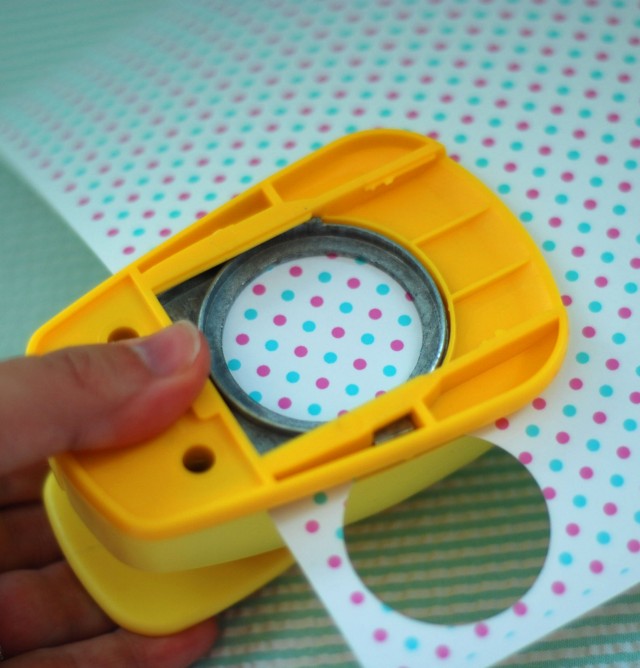
9. Tape each circle button to center of each Fan Ruffle (rolling clear tape to make “double-sided tape” works better for this part instead of actual double-sided tape).
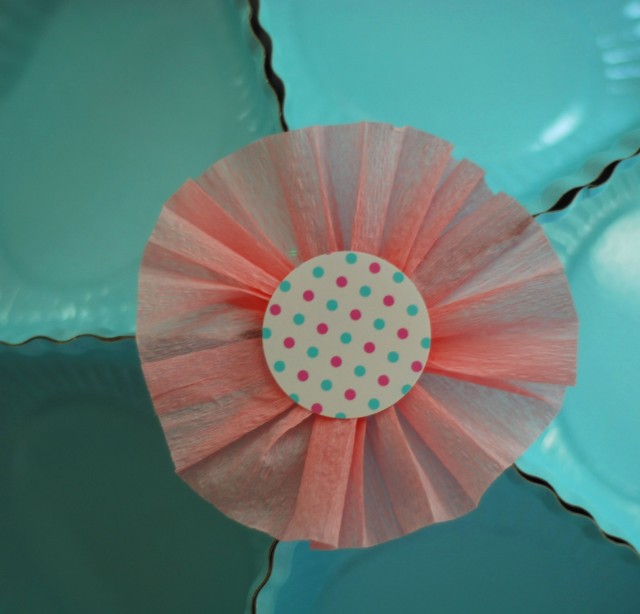
10. Tape all Circle Buttons onto the Fan Ruffles.
11. Punch a small hole at top, and run clear monofilament string (fishing line) through, and you are all done!
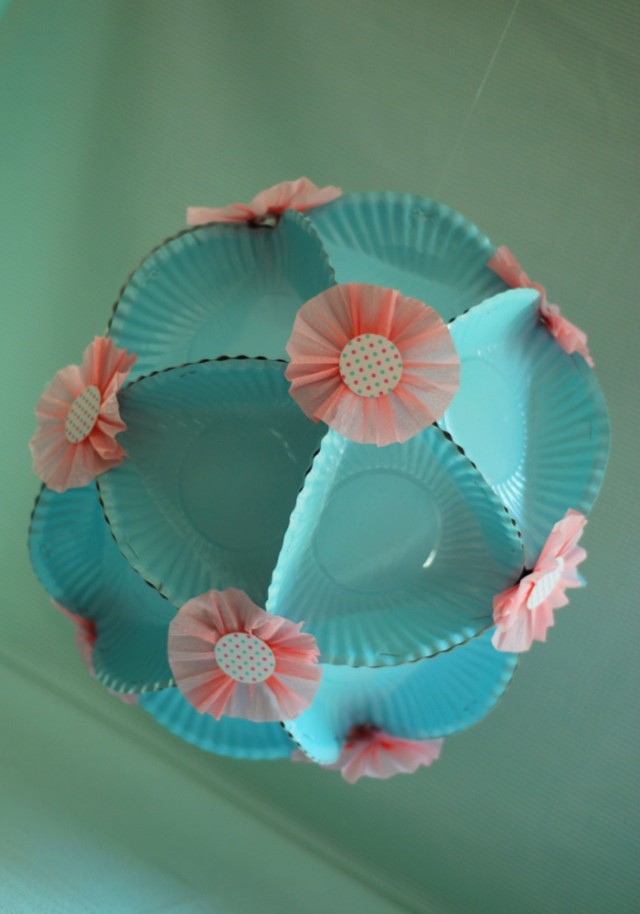
It doesn’t get much cuter than this!!!
Tips:
We like to find inexpensive colored plates at dollar stores…
You can use party logos and tape to the centers as well….
You can also use the Fan Ruffle, with a party logo in the center, as a cupcake topper or other embellishments.
Just so you know… my 9-year old daughter, Brynne, stole this from me as soon as I was finished, and hung it to her bedroom chandelier! (So apparently, these polyhedrons can also be used as bedroom decor) 🙂
*We love FEEDBACK!!! Did you find this useful? If so, share this post on facebook, or send us a comment.
3 FREE PATTERNED PAPERS – Click to Download


oh so pretty! thanks for sharing 🙂 xo
Such a creative use for paper plates! Genius! {Love the ‘Ruff flair’ too!}
I am planning a sweet 16 and just love the colors used!
THANK YOU so much!! I love these and will be doing these for both my boys parties! My next big question is- where do you find paper plates??
Hi Mychal! Of course! We found our colored paper plates at the Dollar Store in our mall. Any store sells colored paper plates… any party store! 😉 We like using the smaller cake sized plates.
These are sooooo cool. I love the idea. My son wants a Star Wars Birthday and these will work perfectly for the deathstar! You have helped me so much thanks for sharing.
Thanks so much! These are adorable, thinking I may use these for a 1st birthday party next month…thanks for the inspiration!
Shut the front door! This is just too cute. Thanks for sharing.
Love it! I made one for my son’s birthday party but realized if your folds are not the same on the plates when you staple it together it is kinda lopsided. Any helpful hints?
Hi! Just try to make your folds as uniform as possible, and if you see that one fold is bigger, try to staple that to one that is also bigger. That worked for me 😉 Good luck! We’d love to see photos!
Wow! You are a genious! I absolutely love these!!!
Exactly what I was looking for!! THank you so much!! Great tutorial!!
Car shopping is something which almost all adults will face in their lives.
If you want to drive, you’ll have to buy yourself a car. The simple ideas below will help you turn the car buying process into something you not only can handle, but that you are a master of.
Thanks for sharing, so easy and versatile. I am decorating my classroom, I teach math, and I figured these look pretty geometric so I may make a few in my color scheme.
I was looking at the bridesmade kit i was wondering if it was still avaible and the ruffel for the banner on the table was that done with ribbon and do the same rules apply