
We have had many questions come in about how to make printable party banners. So today I’m going to show you a few ways to make them – there is no right way… just several fun ways!
Supplies needed:
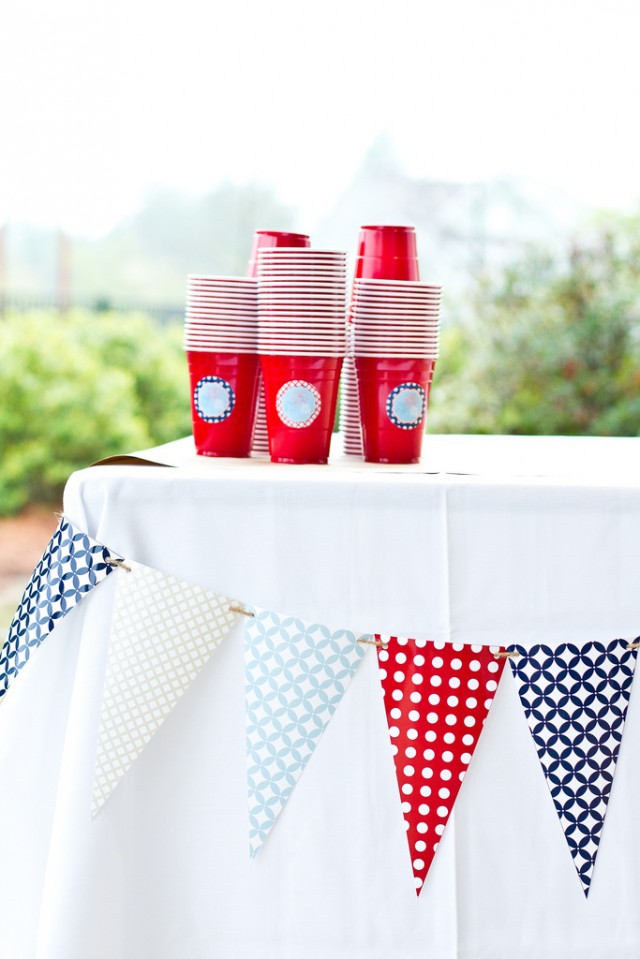
Printable Party Banner (sample shown is from our 4th of July Pinwheels Collection) – printed and cut
Scissors or paper trimmer
Ribbon or twine
Double-sided tape or Paper Glue (Zip Dry works great for banners!)
Hole Punch
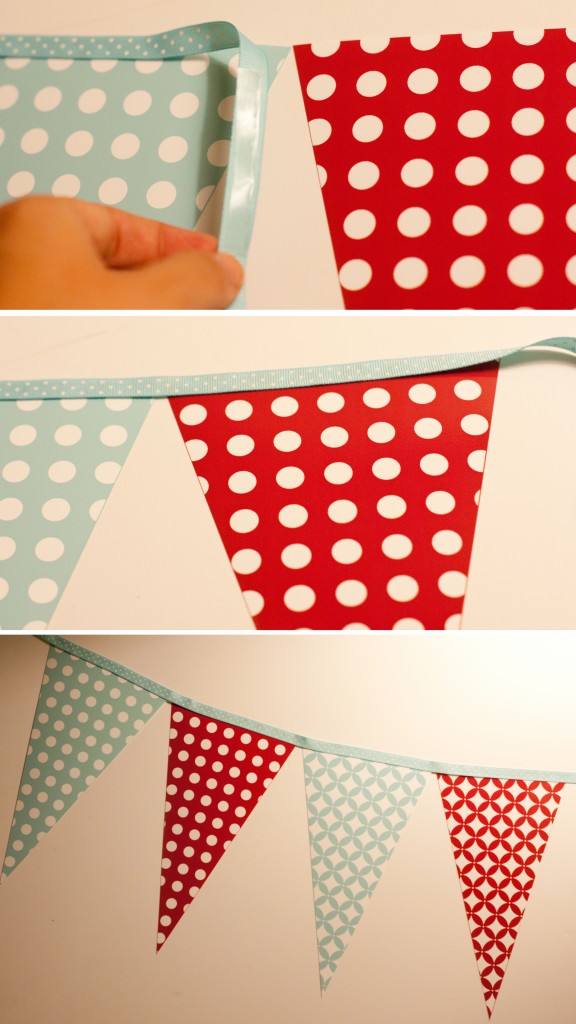
RIBBON TRIMMED BANNER:
1. Line your banner pennants in a row so you can see length of banner
2. Measure ribbon, and cut to length (leave excess on each side, so you can hang it)
3. Using double-sided tape, adhere the ribbon to the top edge of each pennant – Grosgrain ribbon will stick with double-sided tape, but silky ribbons will need glue
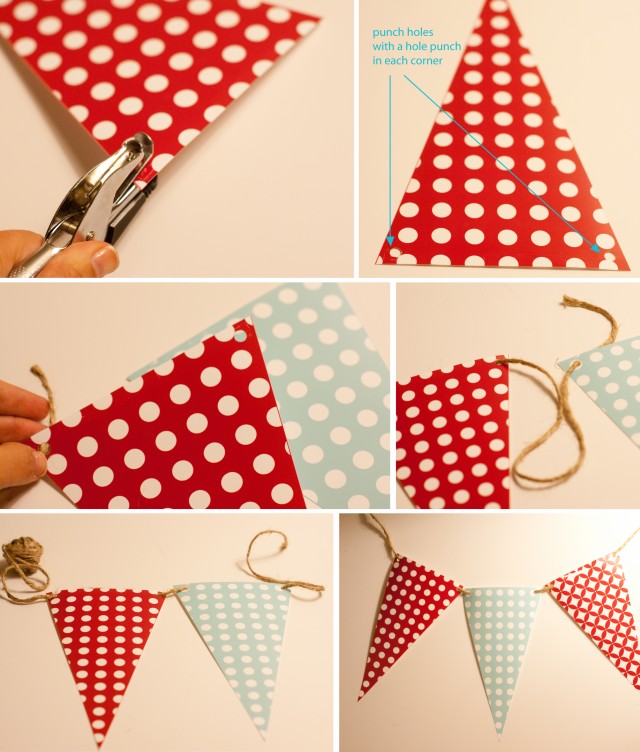
TWINE/STRING ALONG BANNER:
1. Line your banner pennants in a row so you can see length of banner
2. Measure twine/string/raffia/ribbon (anything will work) and cut to length (leave excess on each side, so you can hang it)
3. Using your hole punch, create holes in each corner of pennant – we just eyeball it! (for thinner string, use 1/8″ hole punch, for thicker ribbons, twine use 1/4″ hole punch)
4. Weave twine through holes (we like to weave our twine along the backside, so it is only exposed slightly at the corners)
Here are some more banner styles that might help you as well!
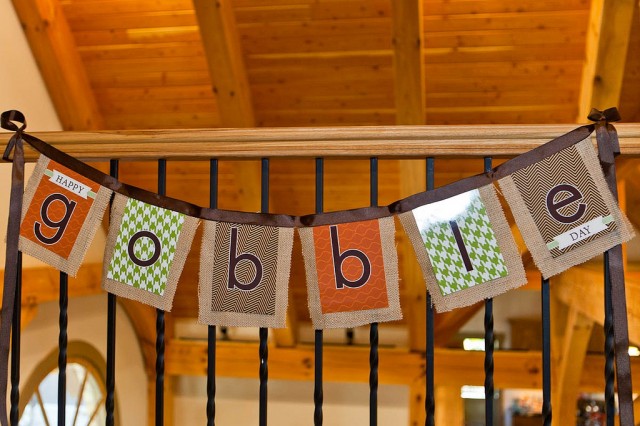 This is a rectangle banner, where we glued ribbon along top, and put a burlap backing for extra detail (click here for full instructions)
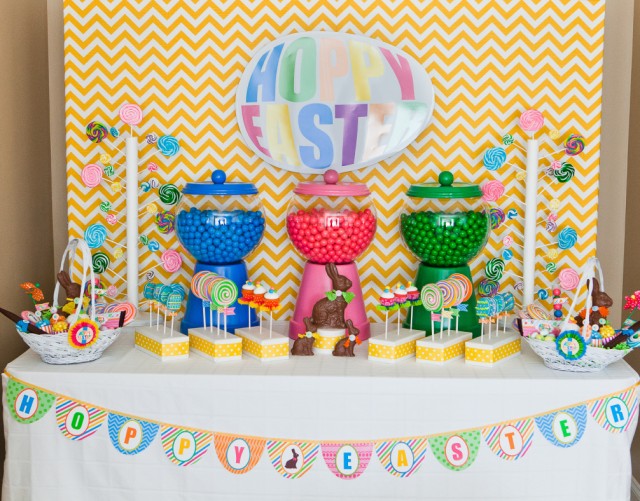 This scallop banner has ribbon taped along the top (we added tiny brads in each corner for extra stability) – good tip if using outside
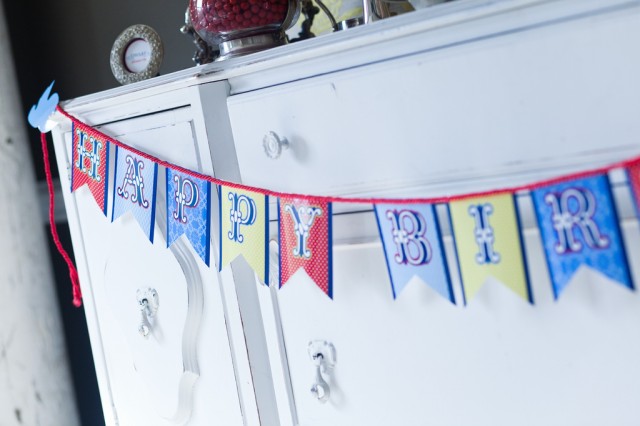 For this flag banner, we glued the fancy cording along top edge of banner (Zip Dry glue used!!)
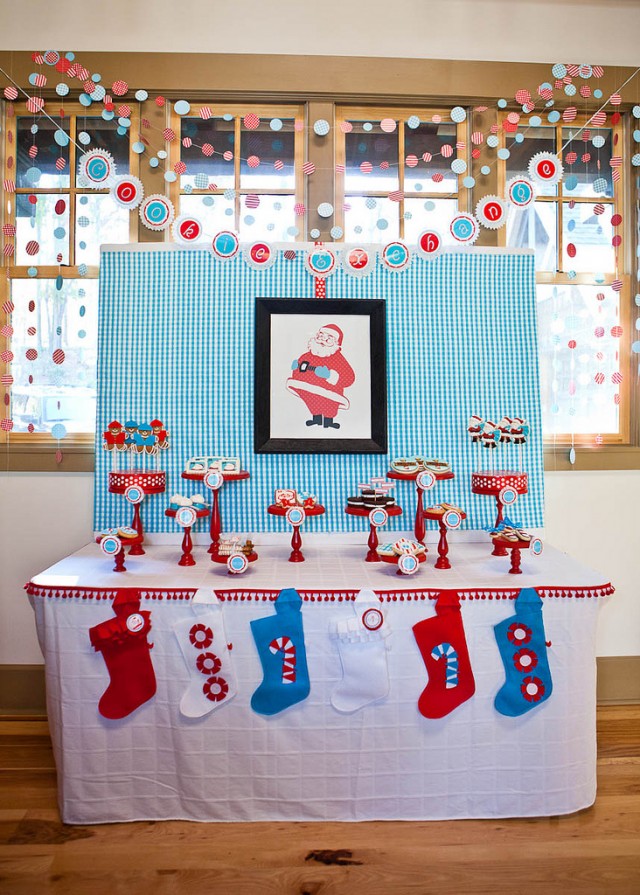
Below, is a circle banner – we weaved string along backsides, through holes in snowflakes (click here for full instructions)
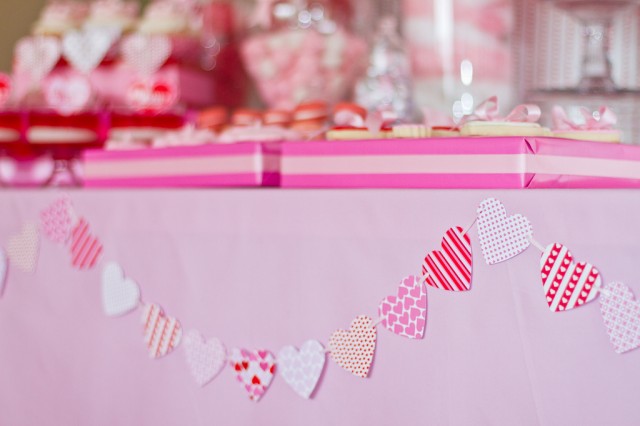 You can use patterned paper, and punch out shapes (such as hearts or circles with a craft punch)
Use your hole punch on each side of shape, and string together
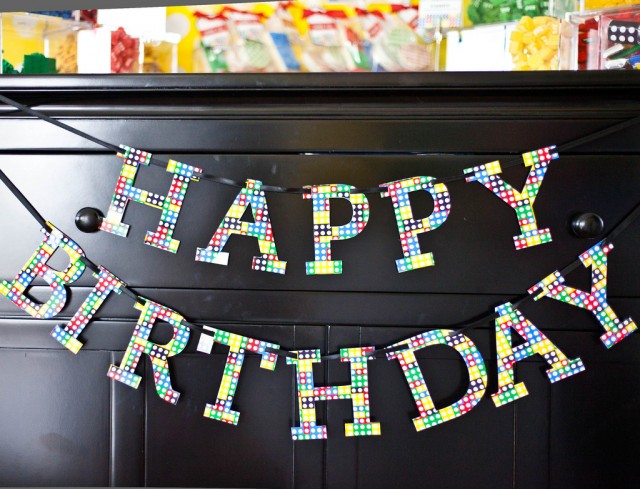
This method works on letters cut from patterned papers too!
Have you come up with a clever way to create banners? If so, share with us – we would love to hear!



Really enjoy the weekly
Ruff Drafts!!!
Great post! Many Thanks 🙂
Are the letters for the banners computer generated and then glued to paper?
Hi Sandra! Thanks for your note! We actually design the graphics and they are formatted on 8.5×11 pdf files that can be printed on cardstock or photo paper. We offer many different banner designs in our shop at http://www.shop.andersruff.com
Love them! Like you said, they’re extremely easy to make and that is just plain fun! Thanks!
This is such a great tutorial on banners pennants! I wanted to see if you might be open to letting me use it on my etsy site in directions when people purchase mine? I could put a link or just credit it? My shop name is The Wright Invite. Here is a link… https://www.etsy.com/shop/TheWrightInvite?ref=hdr_shop_menu
Thanks so much, Love your site!
– Heather Wright