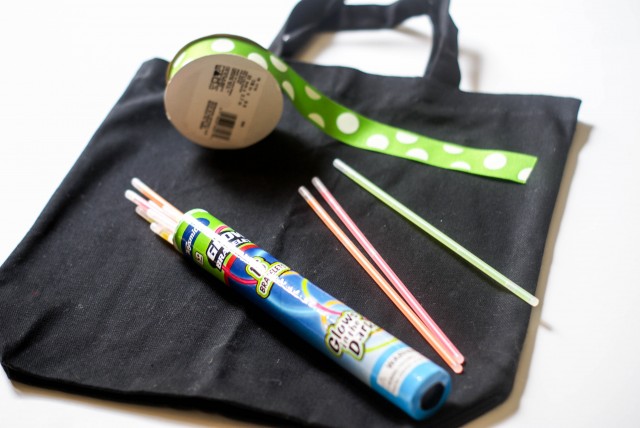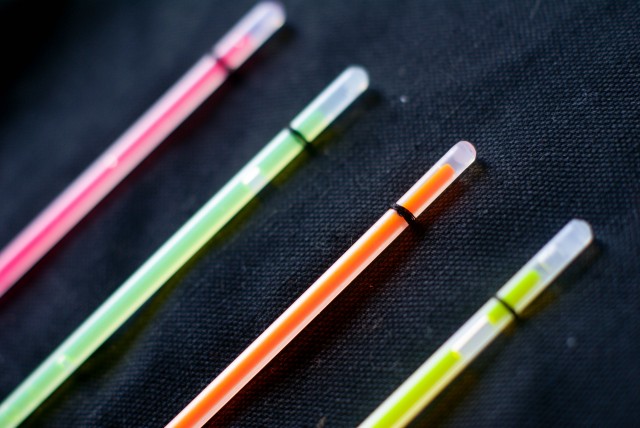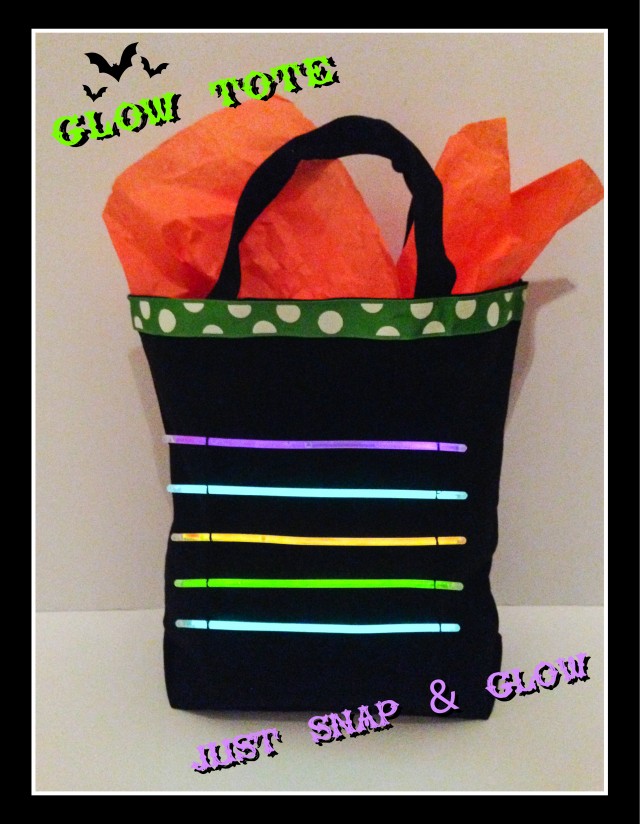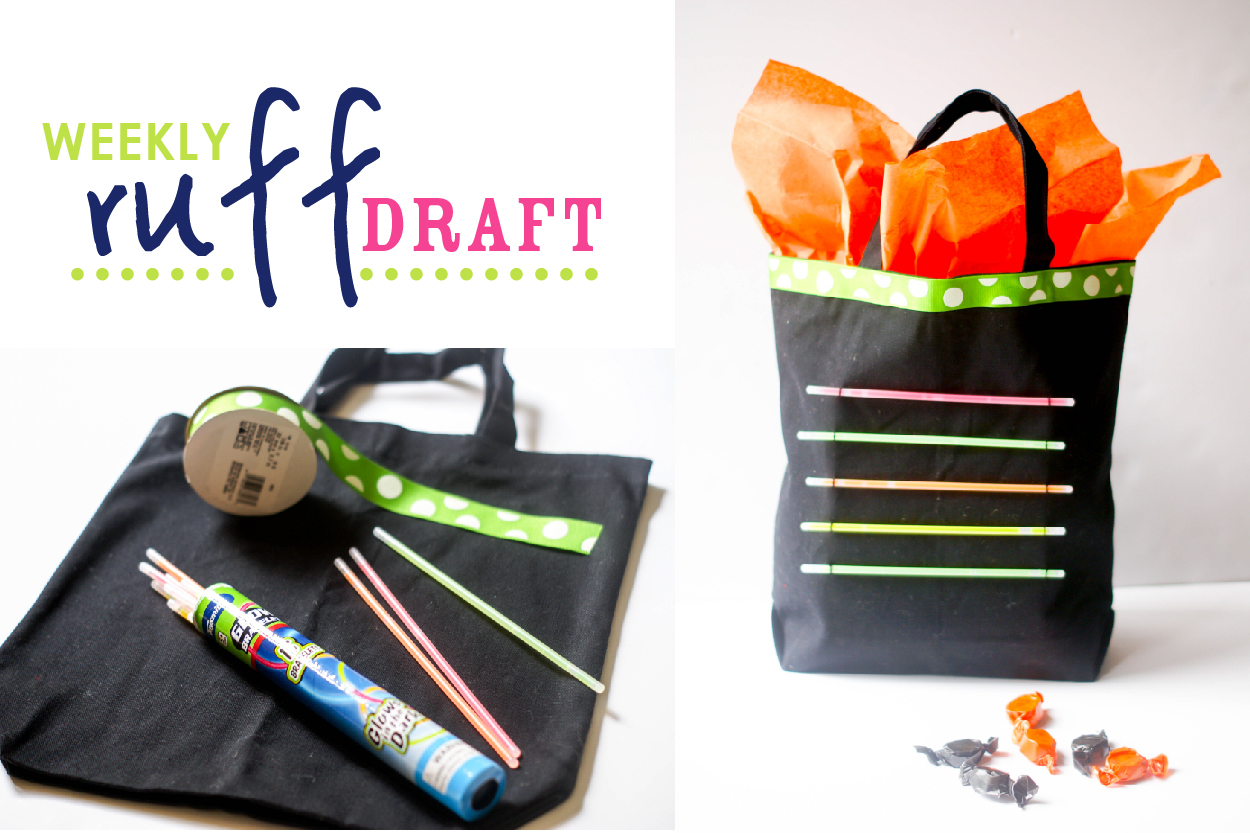
We are loving glow sticks and wanted to show you a clever way to light up your Trick or Treat bags this year! This DIY project is perfect for any age and is so simple to make! Maureen thought of this Trick or Treat Glow Stick Tote, and I think you will love it as much as my kids do!!! As soon as Grayce (my 7 year old) saw it, she squeeled – I WANT THIS BAG for Halloween Night!! The great part, is that the glow sticks slide out, and can be replaced each year!
Supplies needed:
Tote bag
Glow sticks (bracelet size)
Ribbon
Needle/Thread
Fabric Glue/Scissors
———————————————–
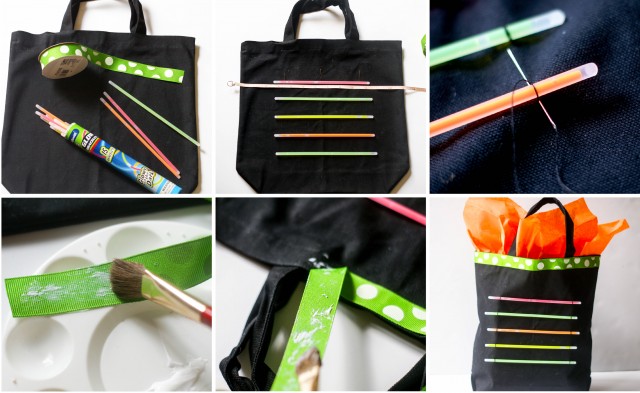
1. Measure your tote to find the center of the bag, and place the center of the glow stick, horizontally. (approximately 3″ down from top of tote)
2. Mark with pins (and mark where you want all the glow sticks to be placed… I placed them 1″ apart)
3. While holding the 1st glow stick against the tote, sew a thread chain (3/4″ from edge of glow stick) – making sure the glow stick is tight inside the loop
4. On the opposite end of the glow stick, repeat the above and sew a thread chain (3/4″ from edge of glow stick) – making sure the glow stick is tight inside the loop
5. Sew all of the glow sticks in place (I used 5 glow sticks)
6. Next, cut your ribbon so that it wraps around the tote edge.
7. Glue the ribbon with fabric glue (I paint it on with a brush)
8. Allow ribbon to dry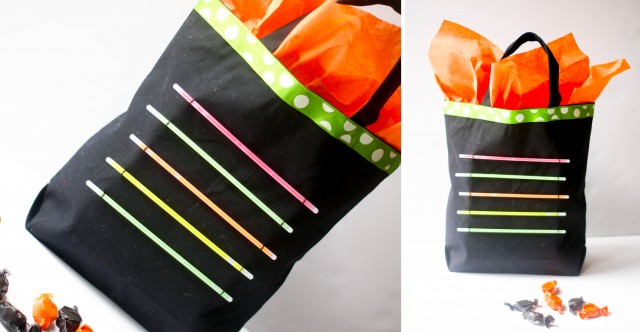
9. On Halloween Night, just SNAP and GLOW!
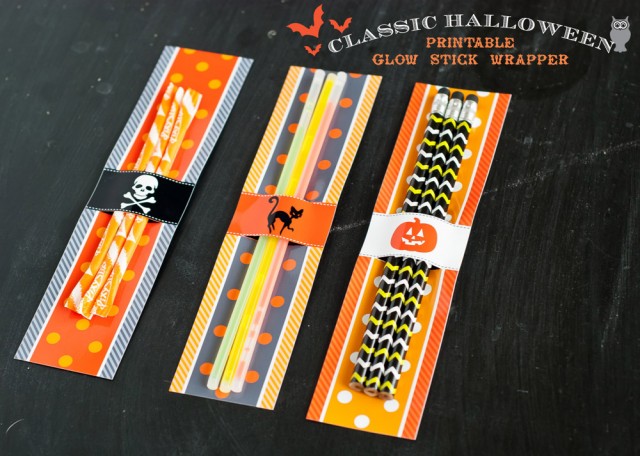
Have you seen our Classic Halloween Collection for this season? If not take a look – we are showing some fun ways to dress up your tricks and treats!
Put your extra glows sticks in these new glow stick wrap designs! (and fill with pencils or pixie sticks too)
Love the Ruff Draft? Leave us a comment and share with others!

