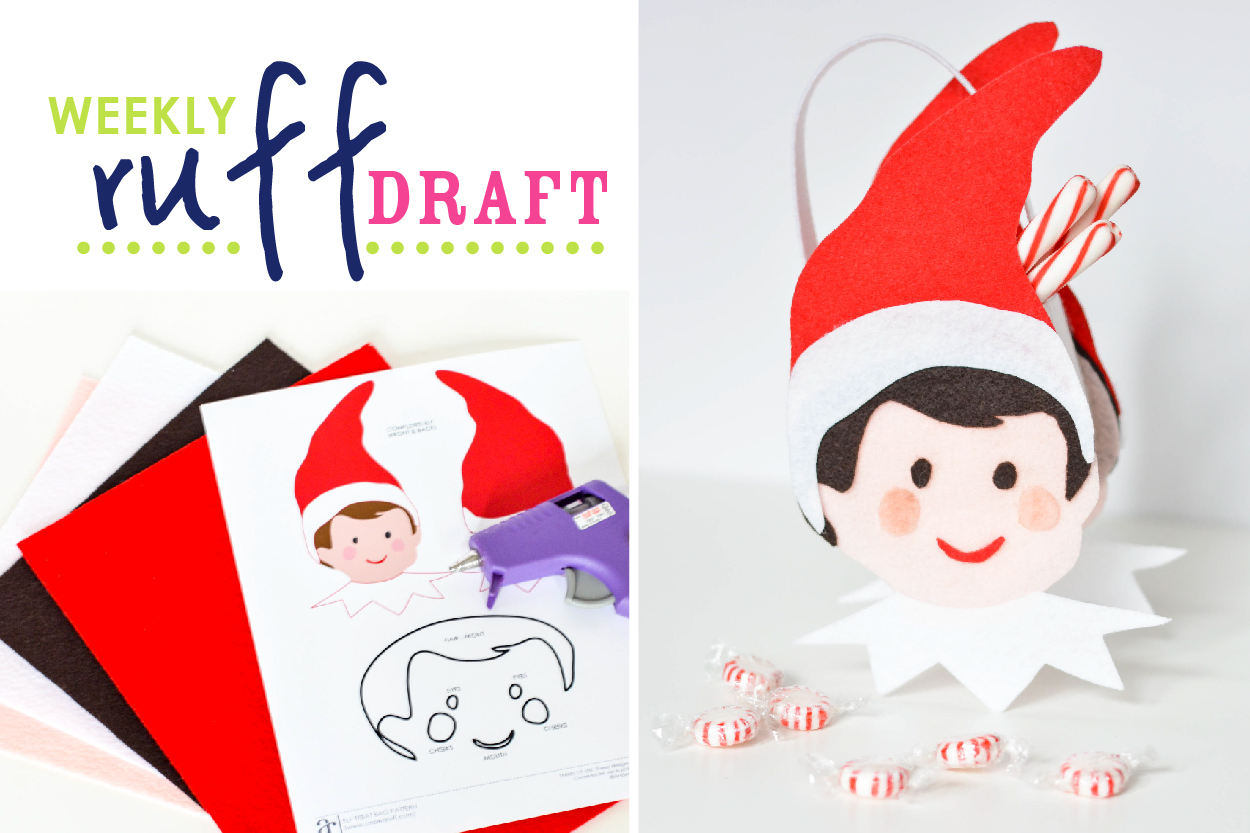
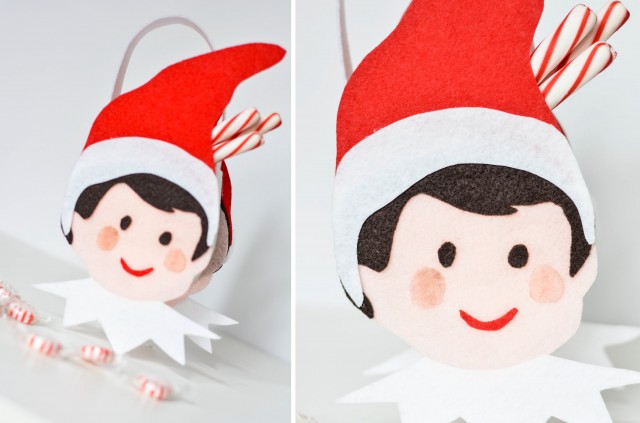
We are so excited to start showing Christmas ideas this season, and we thought we would kick it off with DIY Felt Elf Treat Bags. We designed a FREE ELF TREAT BAG PATTERN for you to use, so you can create these adorable favor bags to match our most popular Christmas Collection, Magical Elf. To see the full write up on our Magical Elf Party, click here. The best part about these elf treat bags, is that all you need is felt & hot glue. (ok, and our free template and some scissors).. Kids of all ages will love these sweet elves – especially if they are filled with extra sweet goodies. Use them for party favors, Secret Santa gifts, birthday bags… and if your child is lucky, maybe it will be delivered by a magical elf. See below for instructions on how to make it!
Supplies needed:
Red, Light Pink & White Stiff Felt (found at local crafts stores like Micheals or Hobby Lobby)
Dark Brown Soft Felt
Hot Glue
Scissors
A little bit of blush (for cheeks)
Directions:
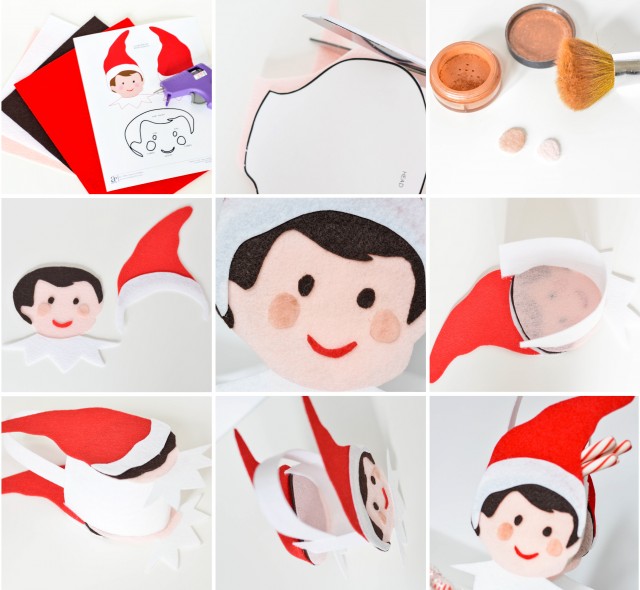
1. Print and cut andersruff-FREE ELF TREAT BAG PATTERN
2. Cut out all felt pieces (I put double-sided tape on all my pattern pieces. Then I place pattern on felt and cut around. It is easier than tracing patterns, and leaves no pen marks
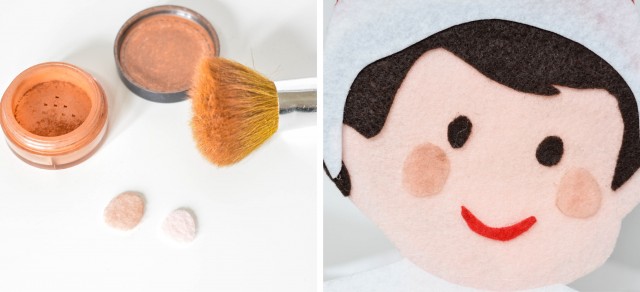
3. Once pieces are cut, using a little bit of blush, darken the light pink cheeks to a soft rosy color.
4. Glue front face pieces on, including hair and collar to front head.
5. Glue front hat together, and then glue front hat onto front hair/head. (place on head, just like graphic sample on pattern – it should overlap the left ear slightly)
6. Back head: Glue collar to head (they should be reversed, so the head and collar are in the same direction as the front), then glue on hair and then hat with white trim. You can refer to the graphic elf for approximate placemet.
To contruct bag:
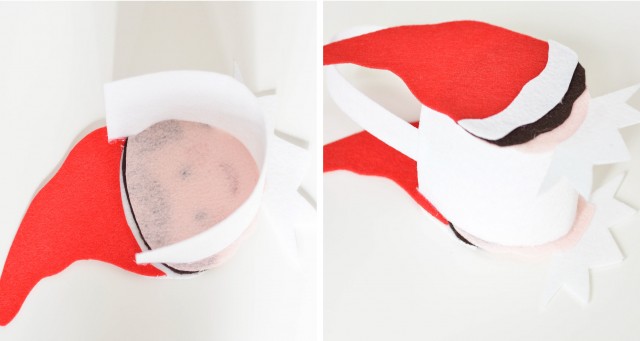
7. Once both front and back heads are assembled, glue band (on it’s side) along the curve of the front face, allowing it to extend into the hat area. (When gluing it along the faceline, leave about 1/8″-1/4″ of edge, so the band is hidden behind the face.
8. Next attach base to backside head, the same way – gluing along the curve of the face and hat.
9. Last, glue on the strap, 1/4″ down inside each side of base strip.
Don’t forget, if you want matching printables, you can find our Magical Elf collection here!


These are so adorable! We’re totally going to make these! Thank you for sharing it.
These are super cute. My kids will love these at the surprise Elf welcome brunch we’re planning, stuffed with a few treats of course! Thanks for the printable.
These bags are so cute!