
You may have seen my recent Dinosaur themed party that I styled for my son, Pierson. If you haven’t seen it, check it out here.
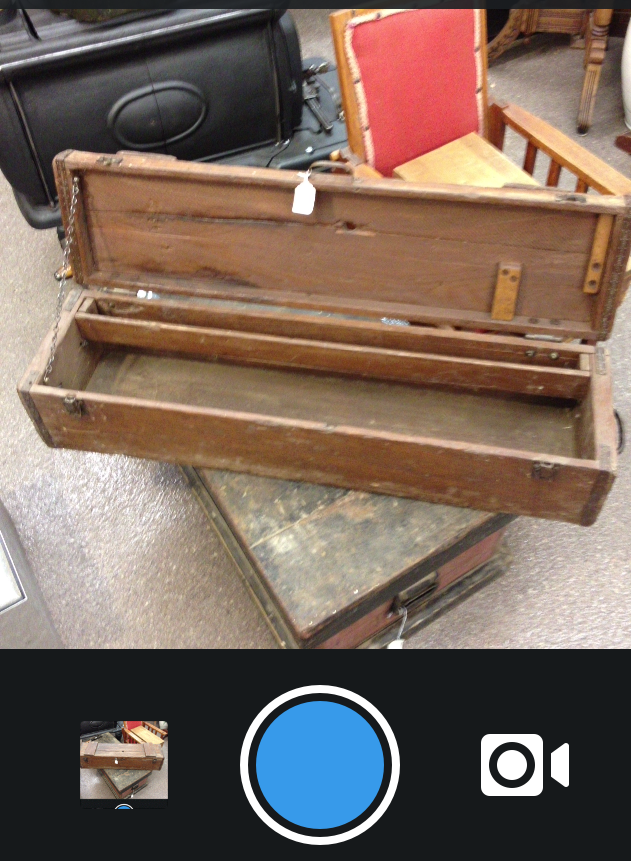
The dinosaur party planning process is fun. I love getting inspiration… you are maybe wondering where this “look” came from? It all started in an antique store. So many people ask how our design process works and how themes come together or are started. It always starts with one or two key elements…. In the case of Pierson’s Dinosaur party, it started in a new antique store (well, new to me since I’m new here in the Milwaukee aree!). I scoured the store for something to jump out at me. Just before I was about to leave with a standard wood crate that I wasn’t overly excited about, I spotted this really cool antique wooden tool box and had to have it. It reminded me of something that an archaeologist or paleontologist might have back in the day – collecting dinosaur bones and tools and brushes around. I just loved it.
You may have seen me post about it on Instagram… 😉

From there the theme and look was born. Now, I’m going to show you a few phone pics I snapped during my “playing around” part of the setup. We always try different things… let it sit for a night… and re-visit it the next day. It takes time and energy and focus, for sure! To get it just perfect is the goal. It is what I love about this job and when it finally works,.. it really works!
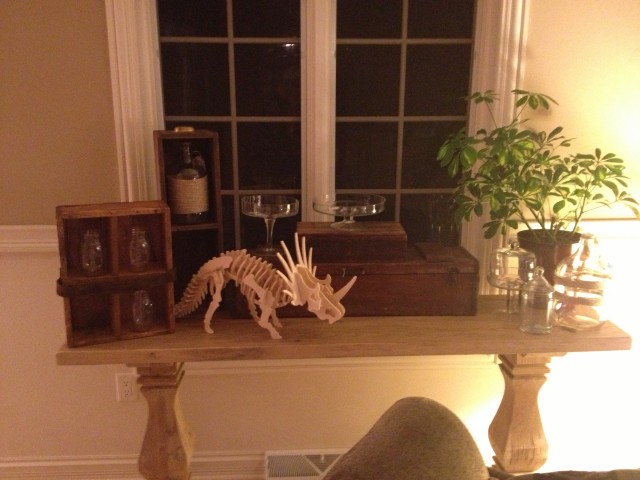
Day 1: Little tool box came home with me, and I started playing around with pieces of decor from my house and prop stash. I had some wooden pieces from our Nautical 4th of July party and knew they’d match just perfect… I started placing the props in front of the window. Yay or nay? I decided no. I wanted a pop of color on the backdrop….

Day 2: Moved the little table to another wall. Liking this wall better! Not sure what to do with Mr. Wooden Dinosaur….. I could tell that he needed to be front and center, but he was a little big for the table itself. Also, he needed some cheering up (which is when I decided he would get spray painted).

Playing with plant placement. I am not loving it. Cotton isn’t either 😉

Day 3: A fresh set of eyes in the morning helps me realize that dino was just too big for the table, and he needed to go down in front on a bench or something with height. Not loving the look of this specific bench, so I added that to my “purchase” list. I also didn’t love the white platters in front. Too much brown w/ the stacked boxes. It needed color in front. Also, I wanted to repeat the glassware, so I knew my cookies for the front part of the table needed to be in glass of some sort.

So, I stuffed glass vessels with green tissue to mimic what wheatgrass might look like. Bam. Went and ordered wheatgrass. It was meant to be there…

Moved a plant from the other room to the side of the table for more dramatic look…
Added a cake to help me really visualize. Yes, that is a 1 month old cake that was in a past photo shoot (Super Hero Valentine’s Day, to be exact)….sometimes you need the real visual. Note to self – store bought cakes will last a long time without molding (eek!?)
Now, I’m realizing that the glass cake stands aren’t doing much for me, so I decide I need to add graham cracker crumbs to them to look like sand/dirt… and that helps tie in the lighter brown tones from the burlap and twine that I planned on using.
Also, brought my wooden chest from the guest room in front of the table.

Scored these awesome topiary balls… pulling in greenery throughout… starting to love where it is going….

Dino is now orange. Perfect. Obsessed so I go get several more to put around the party! AHH!

Now, time to implement the green wheat grass in the glass vessels. I knew I’d be adding cookie pops there, so I added rocks at the bottom to help them stand up and make it look good! Since it was faux wheat grass, it needed something at the bottom to hide the seam, so I put twine and ribbon around it.
You can see I started adding my printable labels to part of the decor to really give the visual.

Next up, framed printed poster. Print My does such excellent working printing!

You can see it all coming together now….

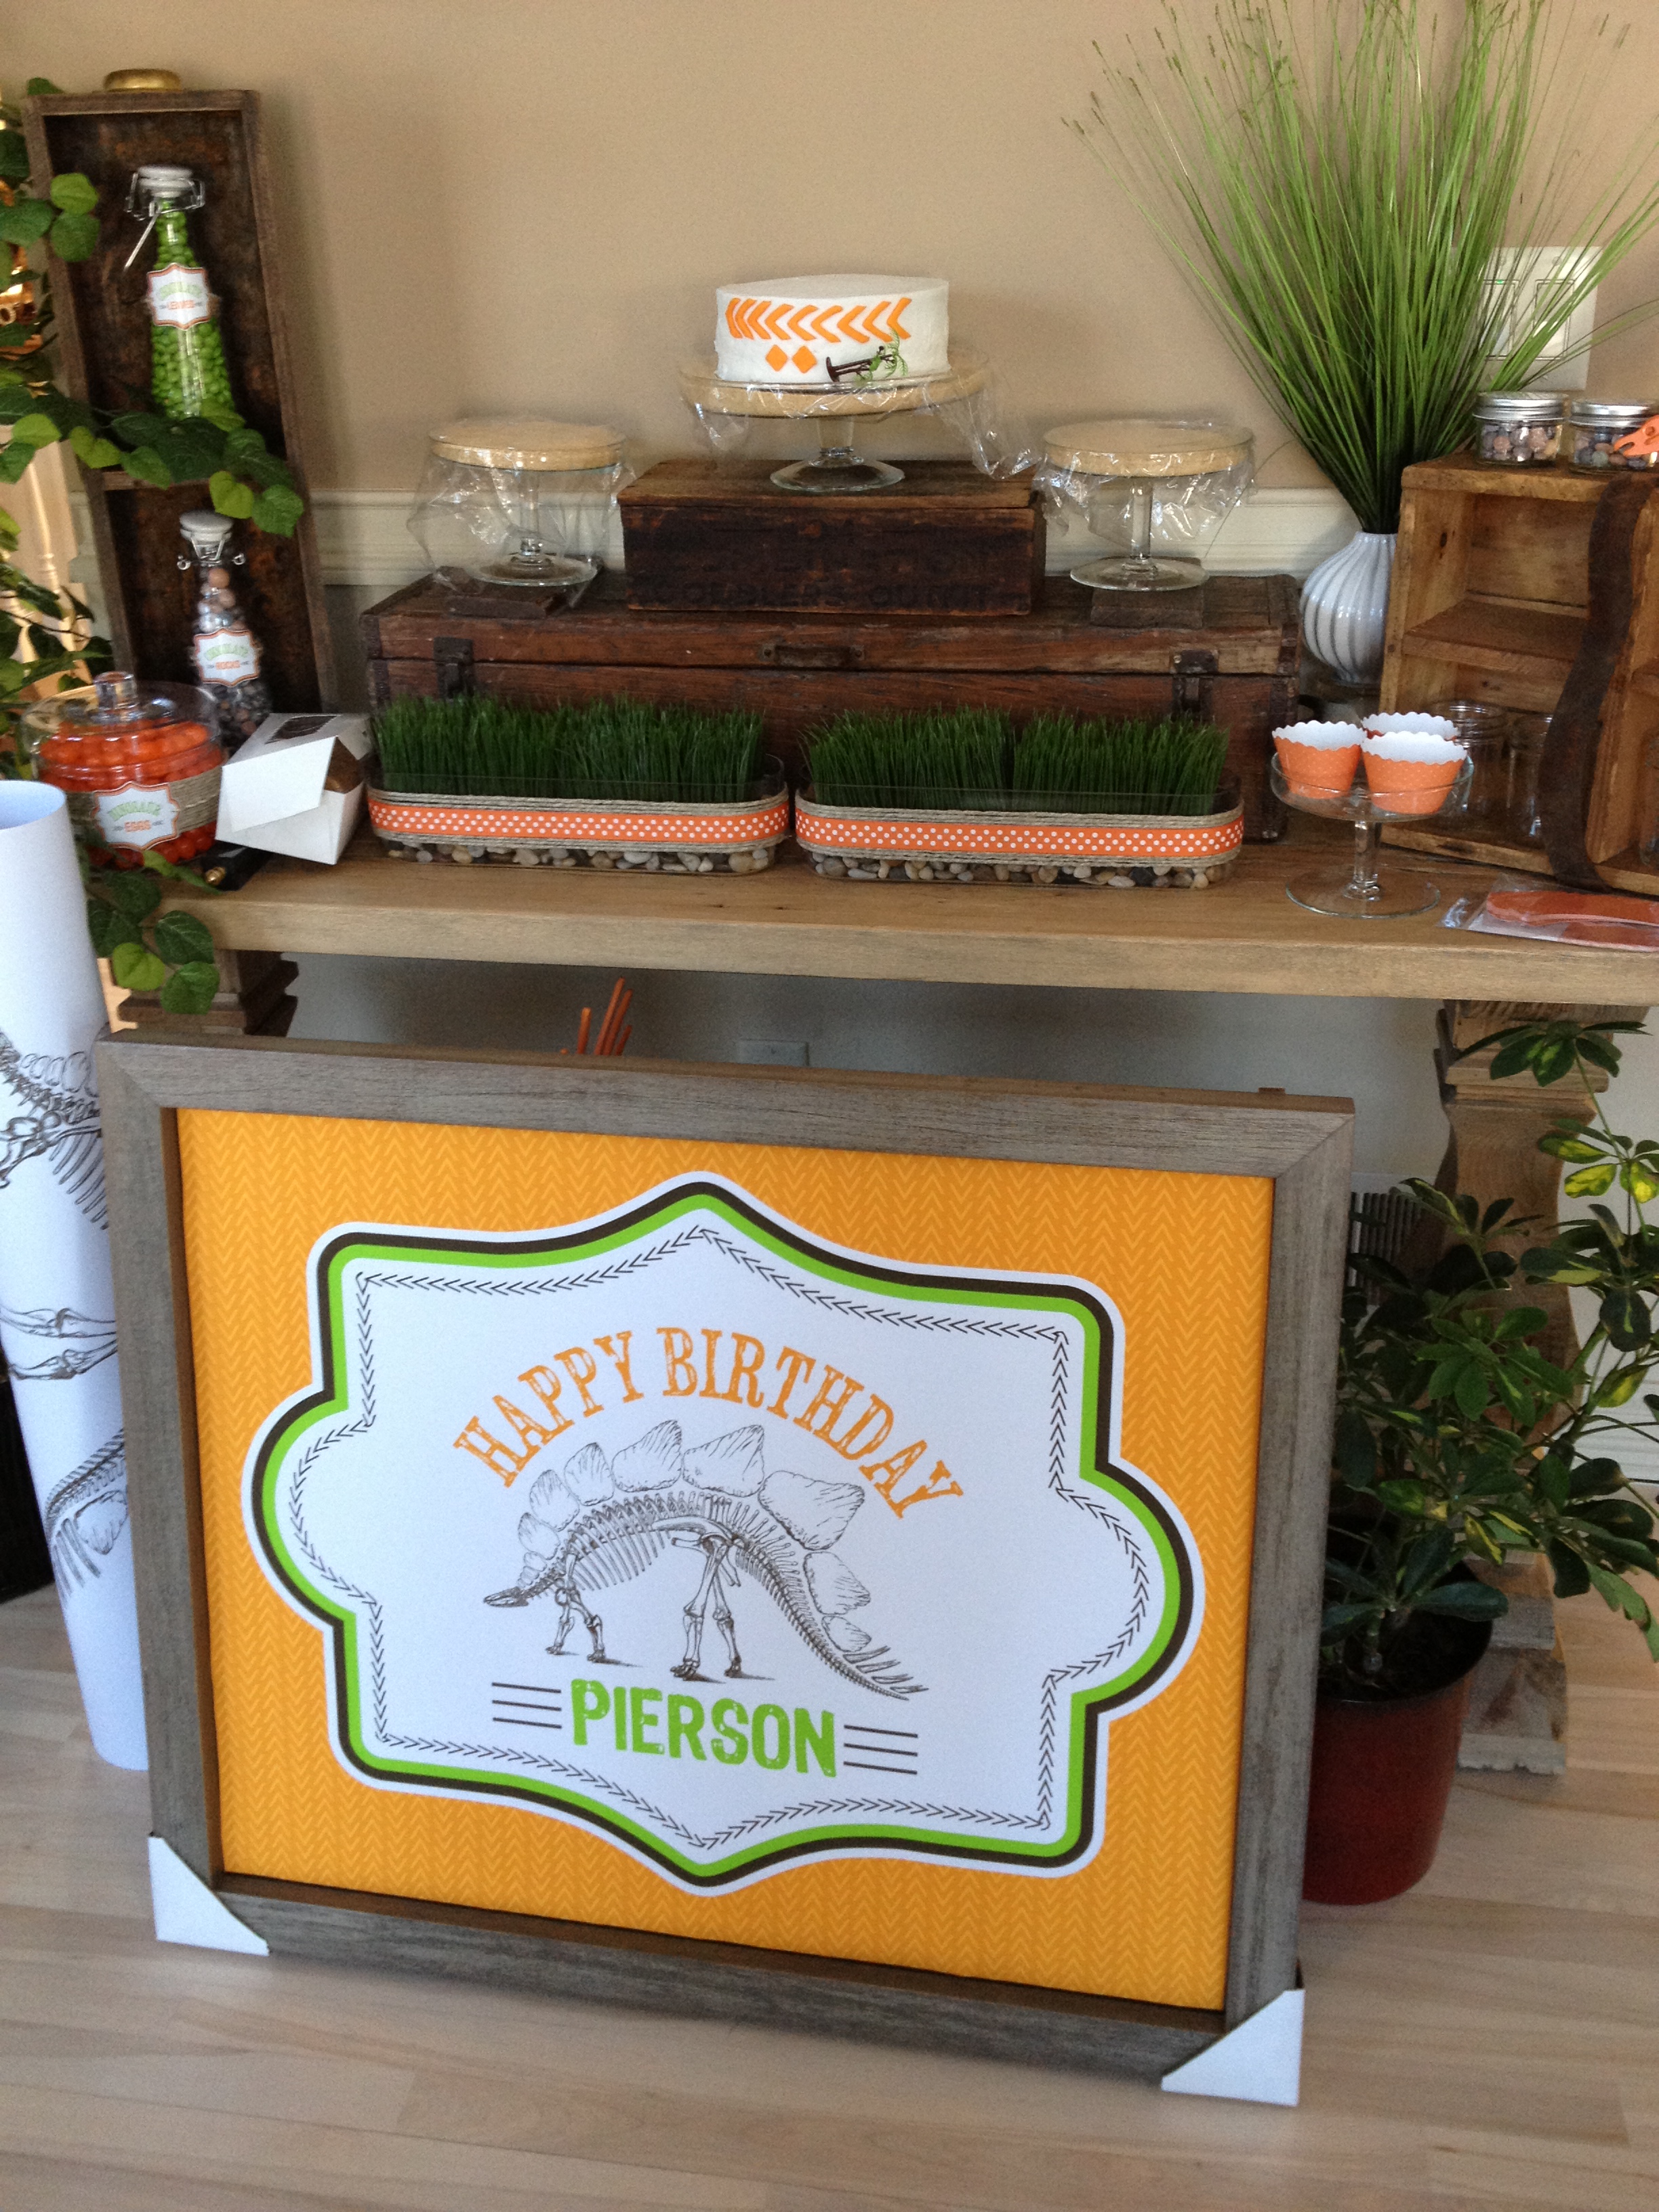
Time to take away the old mock cake and place all of the real desserts – the fun begins!…. One last snap from my iphone the night before….

And here is how the final product turned out!

Read all about the entire party and details here….
Find all of our NEW Dinosaur Dig Excavation Party Printables in the shop here.
Follow us on PINTEREST to see even more fun inspiration and ideas!
***
CREDITS & RESOURCES:
– Party Styling, Production & Concept: Anders Ruff
– Dinosaur Invitation & Printable Graphics: Anders Ruff Shop
– Professional Photography: Michelle Kujawski Photography (Facebook page here)
DECOR:
– Wooden Dinosaur Puzzles: Amazon
– Faux Wheatgrass: Amazon
PARTY GOODS:
– Custom Embroidered T-Shirts & Hats: Great Stitch
– Custom Embroidered Tent & Pillow Cases: Great Stitch
– Custom Burlap Table Cloth: Candy Crush Events
– Dinosaur Excavation Kits, Mini Dino Skeletons, 3d Dino Puzzles, Mason Jars, Magnifying Glass: Oriental Trading Company
– Cupcake Wrappers: Bella Cupcake Couture
– Burlap Bags, Kraft Eco Boxes, Shred, Jute Twine, Tissue Paper, Clear Food Containers: Nashville Wraps
– Glass Jars and Glass Containers: Specialty Bottle
– Label Material for Printing: Onlinelabels.com
– Printing: Print My
– Dinosaur Crayons: Posh Paper Creations
– Wooden Utensils: Sucre Shop
– Paper Straws & Balloons: Smash Cake Studio
PARTY TREATS:
– Custom Cake: It’z My Party Cakery
– Candy Rocks, Candy Pebbles, Orange Sour Balls: Candy Galaxy
– Oatmeal Cream Pie Cookies: Sugar Wood
– Custom Sugar Cookies: Frog Prince Cake & Cookie Design
– Dinosaur Egg Cookies (Chocolate Covered Oreos): Sweeties by Kim


This is an awesome look at how much work goes into these things! Thank you for sharing!!
Thank you for a peek inside the process. Love it!